Showing posts with label freezercooking. Show all posts

Friday, December 5, 2014

Food Friday: Veggie Orzo Beef Stew

GUYS!  I made soup and it is SO GOOD!  I had a bunch of old/leftover veggies, so I kinda started with that and decided I wanted to use some random ground beef and some pasta.

I'm labeling this a stew because I figure I could eat it with a fork if I wanted.  That's my soup/stew line.  Eat with a fork & sop up the juice with bread = stew.  Spoon required = soup.


So much goodness all in one bowl.  I love it when things work out better than I expect.  Below is what I used, but feel free to substitute for what you have on hand.  The great thing about stew is that it thickens while it stands too.  You can add water each time you reheat to make the stew stretch a bit further.  This was also obscenely cheap.  It cost somewhere around $7 for the whole pot.

Here's the printable, which opens a print dialogue box in a new window.

Veggie Orzo Beef Stew
Ingredients:
3/4 pound ground beef, cooked and drained
4-5 cloves of garlic, minced (about 4 teaspoons)
1 medium onion, small dice ~1/4"
1 potato, small dice
8 celery stalks, chopped to 1/4"
8 oz baby carrots, chopped to 1/4"
1 can of peas
1 can of corn
6 cups water
6 teaspoons beef bullion granules (or 6 cubes)
1 tablespoon black pepper
1 teaspoon paprika
1 teaspoon red pepper
1/2 teaspoon white pepper (can omit if it's not in your pantry)
1 teaspoon oregano
1 teaspoon salt
1 bay leaf 
2 cups orzo pasta
2 more cups water
3 teaspoons corn starch
  
Directions:
In a large stock pot, combine everything except the corn starch, the second amount of water, and the orzo pasta.  Bring the pot to a boil.  Once boiled, turn down to a simmer.  Cook for 45 minutes.  Add the orzo pasta and the second amount of water if needed.  Simmer for 15 minutes more.  Stir in the corn starch at the very end.  You may want to mix the corn starch with a bit of water before adding it to the pot.  That will prevent lumps.  I did not do this, but I also didn't have consistency issues when I tossed the corn starch in the pot and stirred.  YMMV.  That's it!

This is a fairly low-maintenance recipe once the chopping, ground beef browning, and boiling is done.  You just kind of set it and forget it.  Stir it a couple times an hour or whatever and you can leave it on low heat all day.  I cooked the soup long enough for the onions to basically disappear.

Friday, September 6, 2013

Freezer Friday: Pinteresting Edition!

I found awesome freezer stuff on Pinterest!  I'm laughing at myself as I type this out.  Should this go under freezer or pinterest?  Not sure.  Eh...Here it is!

Do Want everything in this picture.  I already use some of the ice cube tray ideas--freezing leftover wine, for example.
Did you know you could freeze eggs?  Now you do. 31 things you can freeze to save time and money. (Pinterest is wonky sometimes and it wouldn't open the webpage.  The first link is the pinterest one and the second is direct to the blog.)


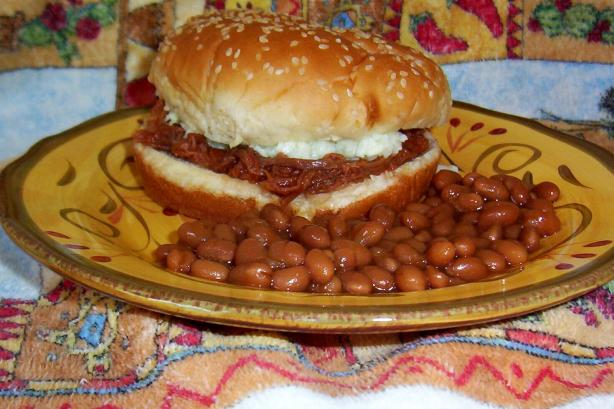
I'm headed to a beerfest tonight and I'm going to make Dr. Pepper pulled pork for lunch on Sunday.  It's the big football season opener on Sunday!  Have a great weekend!
~elle

Friday, August 23, 2013

Freezer Friday: Food.com

I'm gonna be lazy this week.  I have some recipes to give you, but I don't have time to type them out right now.  Here are some of my favorites from Food.com's top 25 freezer-friendly recipes.

Crock Pot Cola BBQ Pork Roast  I prefer Dr. Pepper & Sweet Baby Rays
 
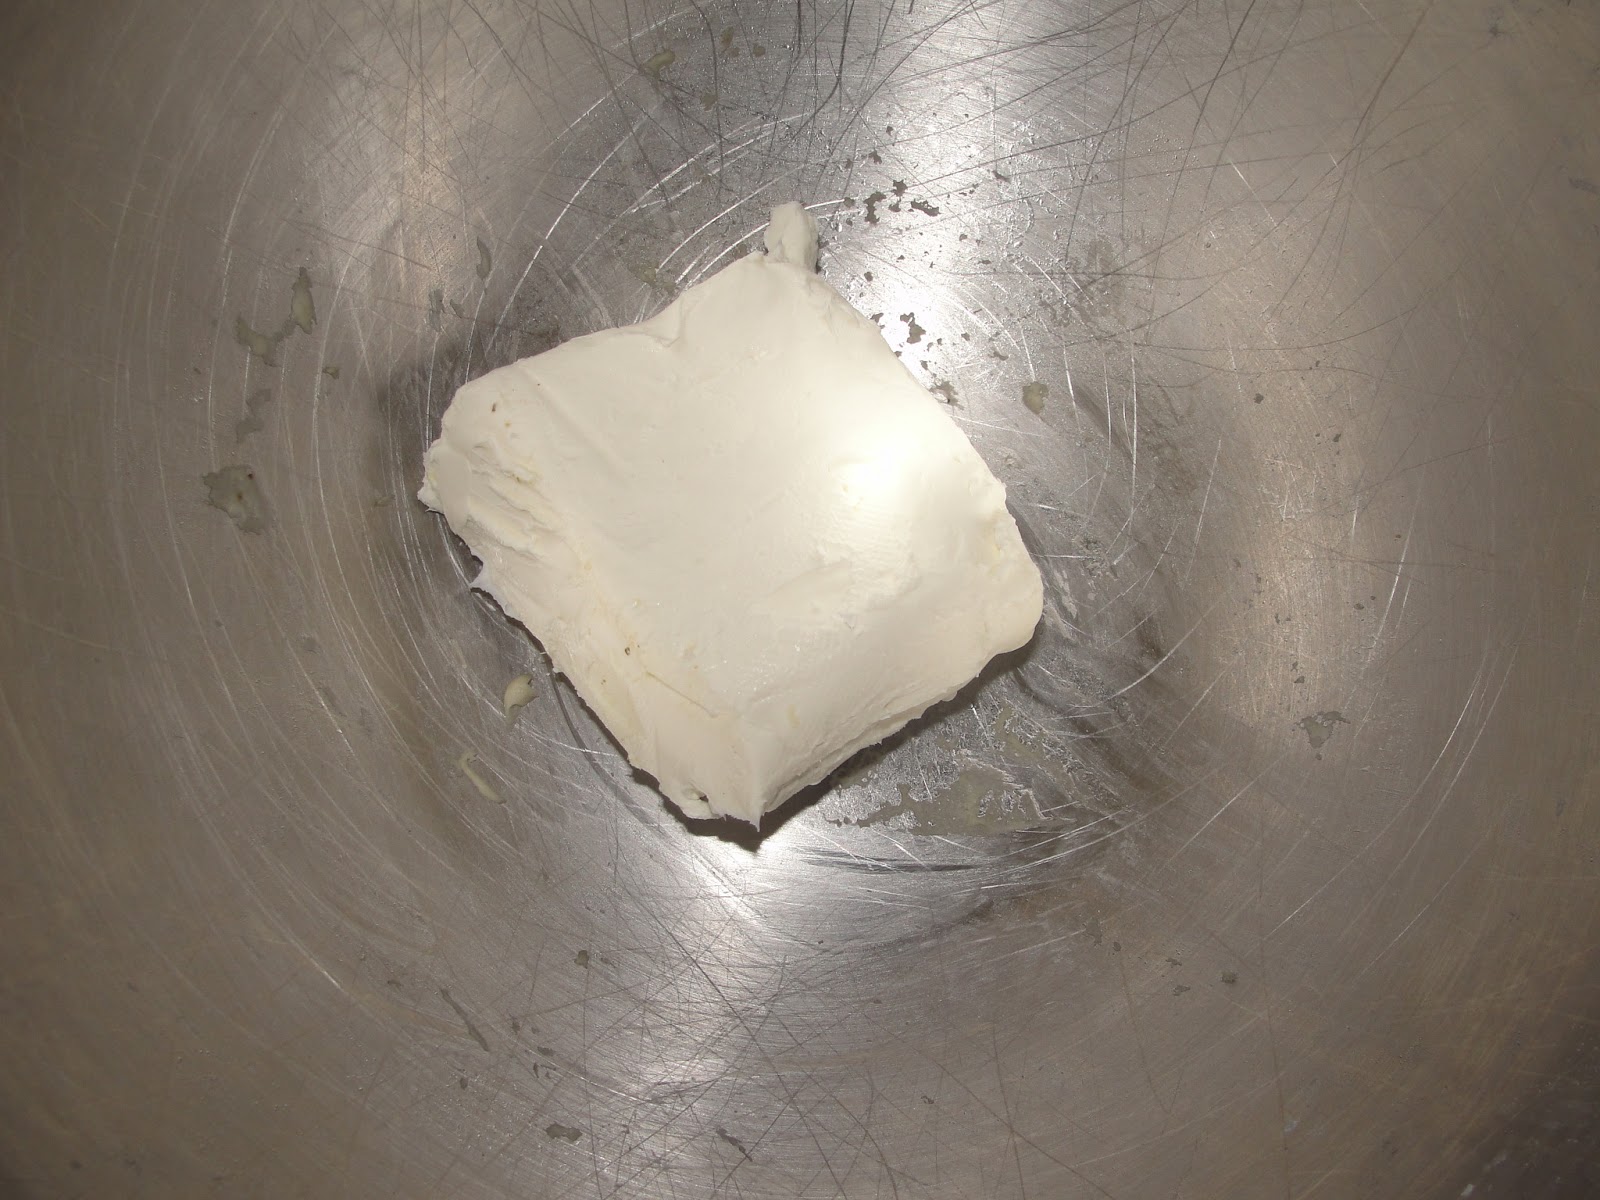
Bacon Wrapped Chicken because who doesn't love cream cheese and bacon?


That's all for today.  I'm already on my way to Michigan!  Til next time
~elle

Friday, August 16, 2013

Freezer Friday: Chicken Parmesan Wraps

As I promised last week after posting my Greek chicken wraps recipe, here is the chicken parmesan wraps recipe!  These are so stinking delicious.  It's always fun to have something turn out exactly as you imagined it would. 


Unfortunately I don't have a baked picture.  The one I baked at home to test the deliciousness ended up a little crispy because one of my out-of-town friends called me and we talked for way too long.  These are really delicious and so easy to make ahead and cook just when you need to.  I find the wraps quite filling too.  A link to the printable version is here (opens in a new window).
 
Enjoy!
~elle
 
Chicken Parmesan Wraps
 
Ingredients:
Baby spinach
1 cup pizza sauce or marinara sauce (approx.)
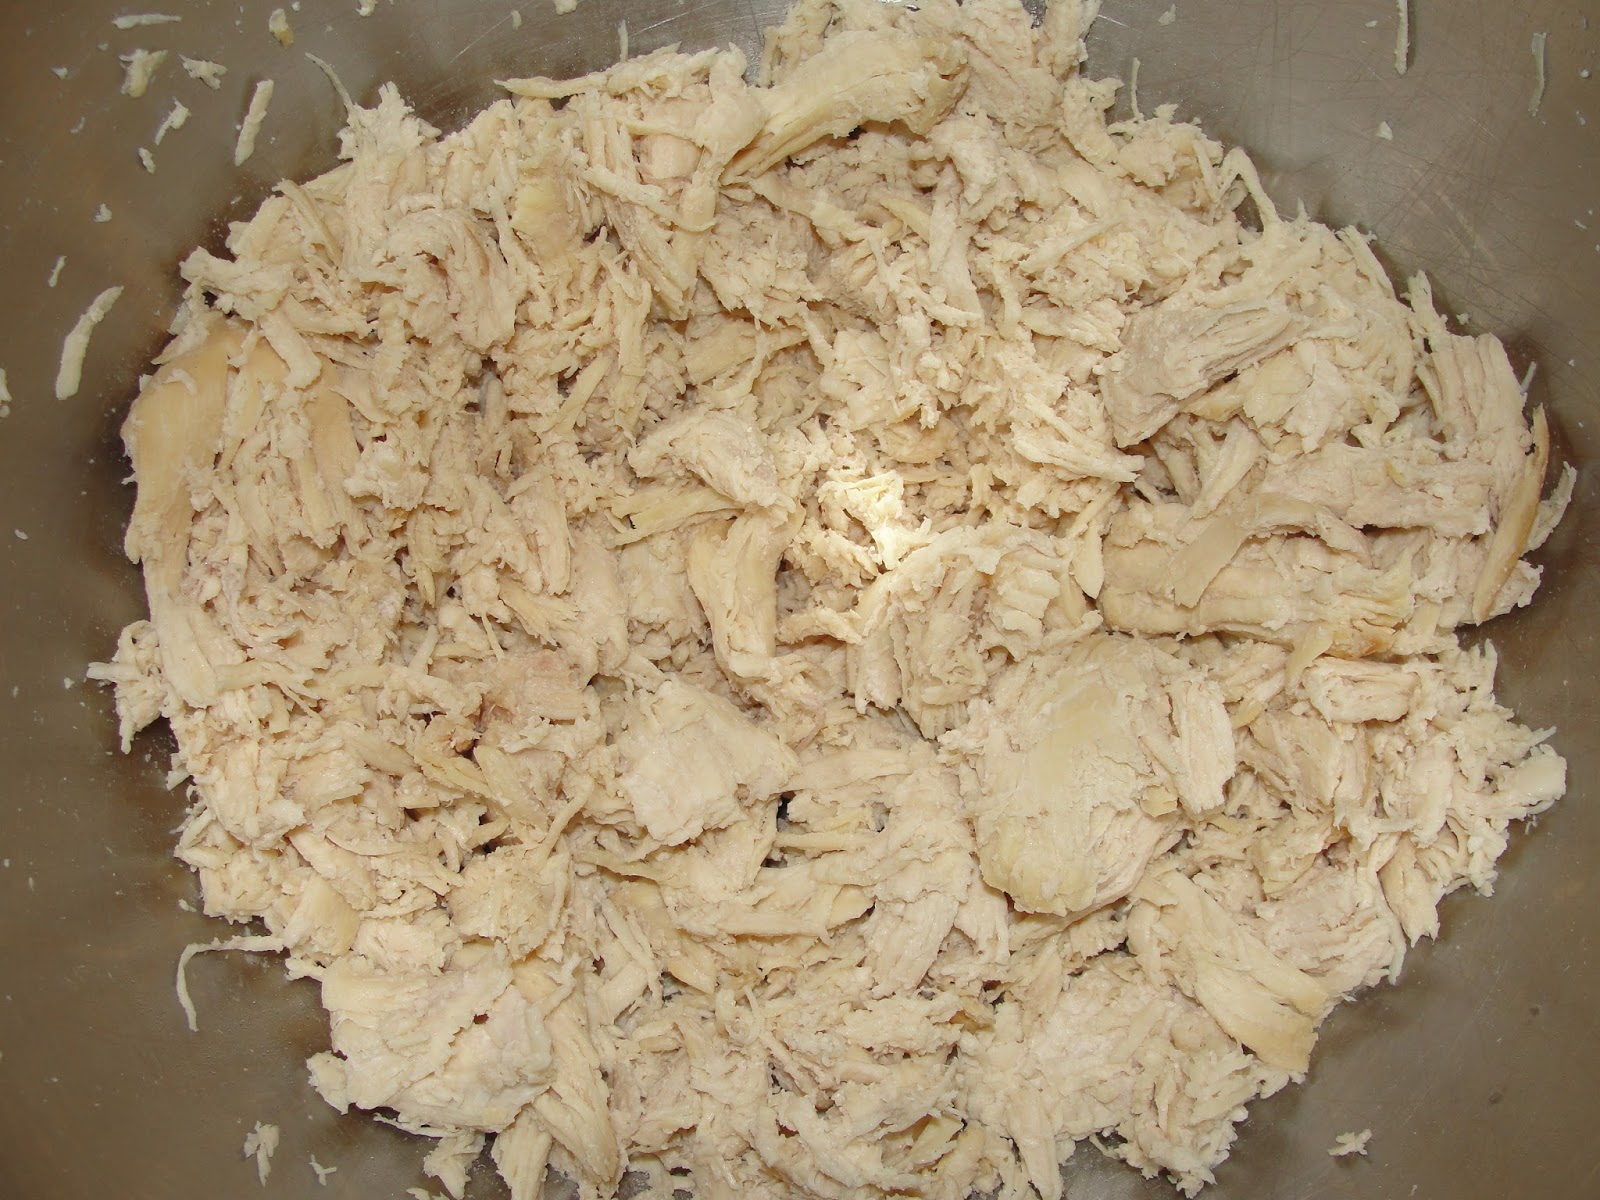
1 pound cooked chicken, shredded
8oz mozzerella cheese, shredded
1/4 cup parmesan cheese
Italian seasoning
12-14 egg roll wrappers
 
Preparation:
In a bowl, mix the pizza or marinara sauce with the chicken, adding more or less depending on your tastes. Place an egg roll wrapper on a flat surface. Place 2-4 spinach leaves in the center of the wrapper. Put a couple spoonfuls of chicken on top of the spinach. Next, add mozzerella and parmesan cheese to your tastes (I used a lot of cheese!) and sprinkle the Italian seasoning over the top. Fold one corner to meet the other and seal the edge with a bit of water, pressing all along the open sides to keep everything inside. Repeat until you are out of stuff. At this point, you may flash freeze the wraps for later or cook immediately. Prior to baking, brush the top of each wrap with olive oil to get a nice golden top. Bake for 10-12 minutes at 375° and enjoy!

Friday, August 9, 2013

Freezer Friday: Greek Chicken Wraps

I said wraps and you immediately thought, "how in the world is she making a wrap freezer friendly?"  I'm a trickster!  I found the glory that are egg roll wrappers!  These may be my new stuffed shells.  I will be putting everything I can think of in egg roll wrappers.  First, I stuffed the egg roll wrappers with the makings of chicken parmesan.  Delicious.  I should post that.--next week.  Then, I had some leftover chicken in the fridge and a hankering for olives and feta.  I grabbed my leftover egg roll wrappers and Greek chicken wraps was born.  I love feta and I didn't want to go overboard, but I did not put enough feta in my wraps!  Horror of horrors.  Let me show you my new recipe!

Of course I forgot to take an ingredients picture!  Here's what you need:  1/2 pound cooked & shredded chicken, greek seasoning blend, spinach, 4oz container feta, greek olives, red onion, and 10-12 egg roll wrappers.
 
I'm a total DIYer, so I made a greek seasoning blend using this recipe minus the parsley because, as it turns out, I only ever use fresh parsley.  Who knew?
 
Here it is pre-mixing!  I had some leftovers after I made all my wraps. 

Take an egg roll wrapper and lay it on a plate.  Put 2-4 spinach leaves in the center.

Top with more stuff.  I used onions next because they lay neatly in the spinach leaves.

Then add 1/4 teaspoon of the seasoning mix
Then add shredded chicken, 2-3 Greek olives (don't forget to remove the pitts!), and some feta.


You can roll them traditional egg roll style by folding up one corner over the goods.  (bad picture)

Then folding the side corners in

And finally flipping the top edge over to seal everything in.  Keep the egg rolls face down until you are ready to cook them.
 
As you can see, I made some using the egg roll style and some as more of a popper/turnover style.  With the triangle ones, fold one corner to the other and seal with water, pinching the edges all around.
 
εδώ είναι  Here it is!
 
A printable version of this recipe is here (recipe opens in a new window).  Enjoy!
 
~elle
 
Greek Chicken Wraps
 
Ingredients:
 
10-12 egg roll wrappers
1/2 pound chicken, cooked and shredded
4oz container feta cheese
Greek seasoning blend
20-30 Greek olives, pitted and sliced (more or less as desired)
Spinach leaves
1/4 cup of finely chopped red onion (approx 1/3 of the onion)
 
Preparation:
 
Place an egg roll wrapper on a flat surface. Arrange 2-4 spinach leaves in the center on the diagonal. Put a spoonful of red onions on top of the spinach leaves. Sprinkle 1/4 teaspoon of the Greek seasoning blend over the onion and spinach. Next, place some chicken, 2-3 sliced olives, and a sprinkling of feta over top. Roll your wrap egg roll style by pulling the bottom corner up and over the contents (the top 1/3 is still free), folding each side corner towards the center, and finally pulling the top corner down towards the center of the wrapper, overlapping the edges. Put the wrap folded side down on a flat surface until you are ready to bake. Coat the tops with olive oil and bake at 375° for 10-12 minutes. Alternatively, you may flash freeze the prepared wraps by laying them on a wax-paper lined baking sheet and freezing for at least an hour before putting them in a freezer safe storage bag for later. No thawing is neccessary, but you may need to increase the cook time a minute or two.

Friday, July 19, 2013

Freezer Friday Returns: With Strawberry Ice Cream!

I have long-coveted  the ice cream maker attachment for my KitchenAid mixer.  I finally bought one!  I didn't want to spend the money or have yet another box of something in my house, but I am so happy to have it now.  My first batch of ice cream was a happy accident.  I had a quart of strawberries that were borderline bad and I thought they would make perfect strawberry ice cream.  They delivered. 
The finished product.  Yummy.  What you'll need:  one quart of hulled strawberries mashed, juice of 1/2 lemon, 1.5 cups of heavy cream, 3/4 cups white sugar, 3 egg yolks.
Mash the strawberries.  I started with a potato masher and transferred the berries to my mixer because I wanted to set it and forget it.  Add the lemon juice to the berries while you are mixing the berries smaller.
Heat 1.25 cups of the heavy cream over low heat mixing constantly until it just begins to bubble.  You don't want this to boil, so watch it closely.
I use these antique-ish revereware copper bottom pots.  They are awesome.  This one is so loved, it's missing the handle!
I forgot to take a picture of this part, but whisk the egg yolks, the sugar, and the other 1/4 cup heavy cream together and pour the heated milk into that mixture while continuing to whisk.  Once everything is incorporated, strain the milk mixture into the strawberries and whisk some more.  You want to strain the milk just in case you have any curdled bits or solid egg yolk you don't want in your ice cream.
This is what mine looked like when it was all stirred!  I prefer a bit of chunks in my strawberry ice cream, so you can see that there are pieces in there.
This is what the ice cream looked like after 15 minutes in the mixer.
And this is after approximately 30 minutes!  Perfectly delicious soft serve.
Make some!


Strawberry Ice Cream
1.5 cups heavy cream
3 egg yolks
3/4 cup granulated sugar
juice of 1/2 lemon
quart of very ripe strawberries, hulled

Instructions:
Puree or otherwise make your strawberries smaller.  Add the lemon juice to the strawberry puree.  In a pot over low heat, heat 1.25 cups of heavy cream until bubbles form along the edge, stirring constantly.  In another bowl, mix egg yolks, sugar, and remaining 1/4 cup heavy cream until combined.  (You need that second amount of heavy cream to have enough liquid to dissolve the sugar).  Add the heated heavy cream to the egg mixture and whisk to combine.  Strain the cream/egg mixture into the smooshed berries and stir to combine.  Cool the mixture in the refrigerator overnight, or at least a few hours.  Dump the ice cream-to-be in your ice cream maker as instructed by the manufacturer.  Enjoy!

July is National Ice Cream Month.  Make ice cream!  Have a fantastic weekend everyone.

~elle

Friday, March 8, 2013

Freezer Friday: Taco Stuffed Shells

The idea of taco stuffed shells has been marbling around in my head for months.  I love using these shells to keep food in (which sounds odd as the shells are a food in themselves), but until now, I've only put chicken stuff in them.  I pulled stuff out of my fridge/freezer and got to work making these using only what I had on hand.  I only made 27 shells total, but I will give you the amounts to make enough filling for an entire box of the shells (42).

Money shot?  Yummy yummy taco stuffed shells.
Taco seasoning ingredients of your choosing.  I use Taco Seasoning I from AllRecipes.

Seasoning mix pre-mixing.  I just swirl the ingredients around in the glass and dump it in the cooked and drained meat.

Speaking of meat:  Brown and drain 1.5 pounds of ground beef.  I love the flavor of the 25% fat beef and it was on super sale, so that is what I'm using.  I bought this almost from the cow in Alabama.

Add the taco seasoning mix and 1 cup of water to your meat.
Stir and allow the mixture to simmer on medium-low heat for about 20 minutes.

Cast of Characters:  Oops.  A little late in the post.  ground beef, taco seasoning, water, jumbo shells (prepared according to package directions), black olives, salsa, cream cheese, fiesta blend cheese, and a mystery pouch.  The mystery pouch is taco sauce.  I sampled the contents of the package and I think it's gross.  I threw that out.  If you are a fan of taco sauce, by all means include it.
 
4oz softened cream cheese in the mixer

Add 1/2cup salsa (I used medium)

Black olives.  I'm a firm believer in the fact that you can never have too many olives.  I recommend 1/2 cup, more or less based on your personal preferences. I tend to buy whole black olives and slice them myself.  I actually just smooshed these with my fingers.  The mixer made them smaller for me!
So pretty!

Add the seasoned ground beef.  I didn't waste any time letting it cool.  Just dump it in there and mix it up.

Add 2 cups of fiesta blend cheese.  This is the entire 16oz package, so you may want to buy more cheese if you would like to top the shells with cheese before baking.  It's your choice.

Fill the shells with the mixture.  Done!
Taco Stuffed Shells

Ingredients:
1.5 pounds ground beef
1 box jumbo pasta shells
1 cup water
1 packet taco seasoning (or equivalent if using your own seasoning mix)
4 ounces softened cream cheese
1/2 cup sliced black olives
1/2 cup salsa
2 cups + more for topping fiesta blend shredded cheese
paprika for color

Preparation Instructions:
Prepare jumbo pasta shells according to package directions.  Drain and allow to cool.  Brown ground beef in a heavy skillet.  Drain the fat.  Return the cooked ground beef back to the skillet and add taco seasoning and water.  Stir and let simmer for about 20 minutes, or until the mixture thickens up.  While the beef is simmering, mix cream cheese, black olives, and salsa together.  Add the seasoned beef to the bowl and stir to combine.  Add fiesta blend cheese and mix again.  Fill each shell individually with the mixture. 

Continue for freezer:  place shells on a wax paper lined baking sheet.  Once sheet is full or you are out of ingredients, place baking sheet in the freezer and flash freeze for at least one hour. Follow below instructions for baking, except bake at 350°F for 30 minutes.


Continue for immediate consumption:  Preheat oven to 350°F.  Arrange the stuffed shells on a baking sheet. Top with more fiesta blend cheese and sprinkle with paprika for color.  Bake for 20-30 minutes, until cheese is melted.  Top with additional garnishments, if desired.

Additional garnishments, if desired:  Chopped green onions, crushed tortilla chips, taco sauce, salsa


For a printable version of this recipe, please click here (will open in a new window or tab). 

Enjoy the recipe and have a fabulous weekend!
~elle