Showing posts with label ladyskater. Show all posts

Monday, July 28, 2014

FO: Lady and the Hounds

Just the Facts:
Fabric: 1 yard of pink cotton interlock from JoAnn's $6.00
Notions: Thread, clear elastic from stash
Pattern: Lady Skater
Year: modern ~2013
Time to Complete:  about 2 hours
First Worn:  July 25, 2014
Wear Again:  yes
Total Cost: $6.00 not including the pattern
 
 
  After I finished my Moneta, I lost the sewing mojo.  I didn't feel like making anything.  No projects sounded exciting to me.  It was weird.

I was cleaning and organizing again and I found this remnant of fabric I bought at JoAnn's a while ago.  I could use the same thread color as what I used on the Moneta, so off I went making this dress.  I might do one more pink dress before I change my thread.  Call me lazy if you want.

It looks like I'm picking underwear out of my butt in this photo.  I'm not!

I love this fabric.  It's 100% cotton and has loads of stretch.  The only bad thing about it was that my pins left holes in the fabric and I use silk pins for everything!  I ended up not pinning much after the sleeves were sewn on.

I only had enough fabric for short sleeves on this dress (barely).  This dress is definitely less formal and the short sleeves work.

Not much twirl in this skirt.

I think the best part is the stealthy print. 
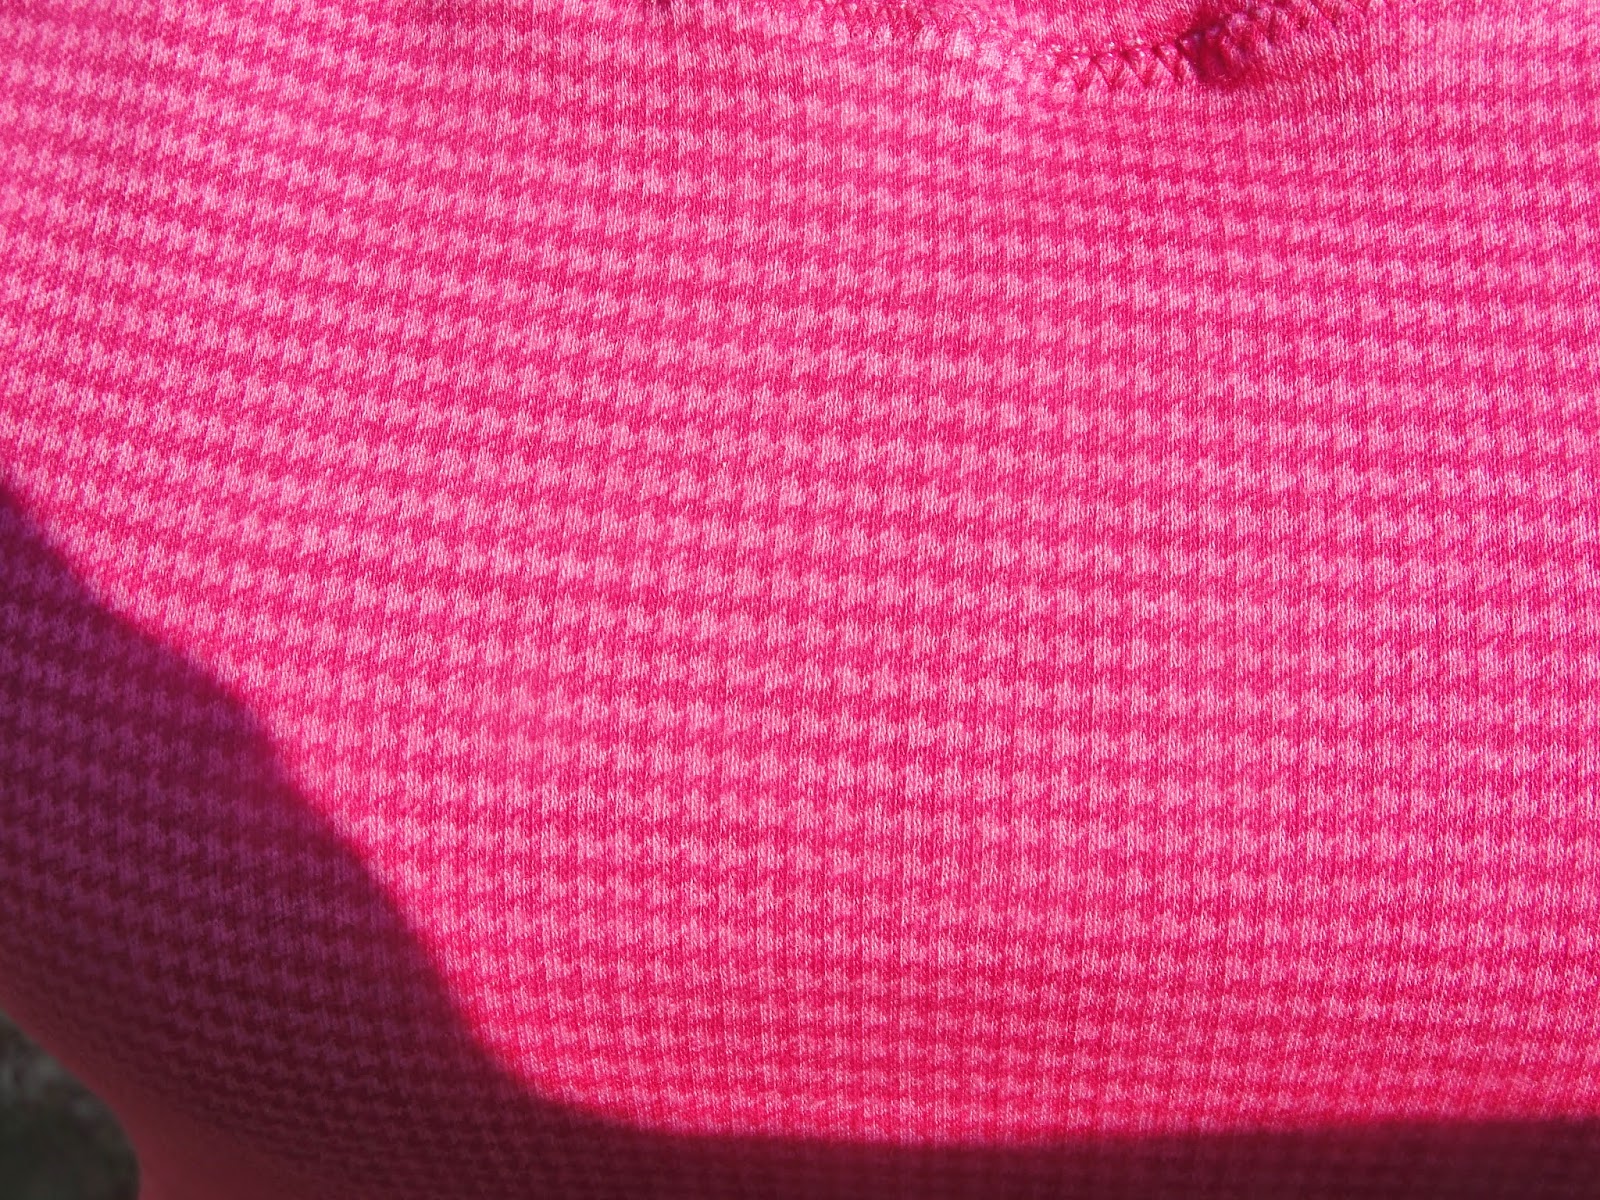
Houndstooth!

The only change I made on this dress from my other versions was to make the neckband in two pieces.  I didn't have enough fabric to cut one long piece, so I measured out what part was the back and what part was the front, added a seam allowance, and cut 2 parts.  I actually think this makes the bodice look much cleaner and I think I will put this change on future versions.  Win.

This dress went together really fast.  The part that took the longest was cutting out the fabric.  When you have just enough, you have to be really careful and deliberate with your pattern placement and cutting.  I like that I can be so thrifty and make it work with very little waste though.  

Annoying hair in face.

This is a very versatile dress.  I wore it to work, then to a beer tasting, then to play goofy golf, then to play pool/billiards, and it never got annoying like some of my other outfits do.  The sleeves stretched out a bit, but that isn't all bad.  My knit sleeves are usually really tight on my triceps and biceps.  It's nice to have some room to move.  That's part of the reason makers make things.


 This photo is very 1920s German lady to me.

I'm leaving for Las Vegas in 9 days!  OMG.  It's coming up so fast.  I have so many decisions to make.  Rent a car at the airport and head straight to the Grand Canyon or get a hotel room for the early morning before heading out?  Where to get a hotel for my other 3 nights?  Should I keep the cheap rental car for an extra day for further sight-seeing?  Decisions.  Decisions.

Monday, June 30, 2014

FO: Lady Grey

"Lady Grey"

Just the Facts:
Fabric: 1.5 yards of grey 95% rayon/5% spandex knit from JoAnn's $10.50
Notions: Thread, clear elastic $8 (4 cones of serger thread on sale included)
Pattern: Lady Skater
Year: modern ~2013
Time to Complete:  about 2.5 hours
First Worn:  June 23, 2014
Wear Again:  yuppers
Total Cost: $18.50 not including the pattern
I really pushed to get this dress finished on a Sunday evening.  I normally would have unpicked seams when the corners didn't line up (like on one of the sleeve cuffs and one of the underarm seams), but I let it go on this dress for the sake of expedience.  I am normally a huge perfectionist and I struggle with leaving things slightly off.  It's something I'm working on--not being so OCPD about things.

When I bought this fabric, I thought it would make a great basic dress.  I rarely wear grey.  I think it's boring.  So that was probably a mistake.  I need to do Colette's Wardrobe Architect project to make sure I'm keeping the personal in personal style. 

Trust me.  I'll still get lots of wear out of this dress.  I will always need to add an accessory of some sort to brighten up my face.  See, I have a yellow skin tone and I have to be careful of what I put near my face to avoid looking sallow.


See what I mean?  Instant sallow.  

 I used the same pattern measurements as the last 2 versions:  3 for my shoulders and high bust grading down to a 2 for my waist.  I love how easy this pattern makes it to sew for others too.  I'm positive I could churn one of these out for anyone and everyone who asked me to. I'm thinking about making one for my mom, but she wouldn't like this clingy fabric (she has a thyroid issue that makes her bloated all the time--gotta hide that).

I bought these adorable grey shoes a couple months ago.  They were incredibly inexpensive.  I normally HATE cheap shoes, but as it turns out, these shoes are actually well-made.  I just need to get a pack of those heel grippers to make the shoes fit perfect.  

(This picture is kind of unfortunate.)  I'm still embracing the back wrinkles.  I'm out of ideas on how to fix it.  I may only have this problem when I stand certain ways or something.  At least I can't see it, so whatevs.

Demonstrating the twirl, as I do. (Ignore my yard.  Limbs needed to be trimmed and it's a LONG walk to the other fence line where I deliver yard waste for decomposition.)

 Downside of this fabric is I get to feel like Marilyn Monroe when the wind blows.  WHEEEEE!


The lady skater (and most all other knit garment patterns I've found) calls for 1/4" clear elastic to stabilize a few key points.  I know certain stores online sell 1/4" elastic, but I find it a bit expensive compared to the slightly wider 3/8" clear elastic I can find in stores.  Here's what I do to handle that:

 When I begin sewing the elastic to the fabric, I don't match up the ends precisely.  Instead, I allow a bit of the elastic to hang over.  I put my needle position to the left slightly (which is the 1/4" seam allowance position on my machine), line the elastic up with the 3/8" marking on my throat plate, and line the edge of the fabric up with the edge of my presser foot (aka 1/4" marking).  This positioning ensures the elastic will be secure and within the seam allowance.  It really doesn't take much extra effort and saves me a bit of money.  Win.

 You will end up with a clean zig-zag with one point of the stitch on the elastic and one point just off. 

Another view of my elastic stitching magic.  My serger takes off the overhanging elastic when I finish the edges.  FUN FACT:  You can also use a strip of the selvedge edge in place of the clear elastic.  Self-fabric stabilizer FTW!

This is my machine and part of my sewing area.  I call this my watermelon room.  It's so green!  I have the pipe cleaners near to help keep my bobbin area clean.  Pipe cleaners are the bomb.  They effortlessly pull out all the fuzzies.
One of the changes I made for the Lady Grey was to put my hem stitching line a bit higher than normal.  I usually stitch about 1/4" from the fold, which leaves room for my serged edge to flip down and be annoying.  The higher stitching line looks like a hot mess underneath, but that serged edge ain't going nowhere!  The stretchy fabric was hard to beat into submission and I have a few wonky areas along the hem where the fabric didn't feed quite right.  I'm over it though. 

I also decided to use the zig-zag stitch around the neckline.  You can see more sections where the fabric didn't pull through correctly and I got a less desirable satin stitch out of the deal.  Nothing ventured, nothing gained right.  I will be trying to get my walking foot to work correctly before working on my next knit project.  IIRC, the thread nested on one side or the other.  It's going to take some trial and error to get it right.


Monday, May 12, 2014

FO: Lady in Red

"Lady in Red"


Just the Facts:
Fabric:  1 yard of red 95% rayon/5% spandex knit from JoAnn's  $7
Notions:  Thread from stash, clear elastic
Pattern:  Lady Skater
Year:  modern ~2013
Time to Complete:  probably 4 hours because I mistakenly bought the wrong length of fabric and I had to get really creative when cutting the pieces.  That took probably 2 hours by itself.  I was NOT buying more fabric for this dress.
First Worn:  March 9, 2014
Wear Again:  yes again and again and again
Total Cost:  $7 not including the pattern

Lady Skaters are, in fact, taking over my closet.

I decided to try a different place in my yard for photos this time.  The sun is right there first thing in the morning.  Directly on my right shoulder is my crab apple tree and a bit further to my right is an apple tree.  Those were here before I got here and the branches are all kinds of unruly.  I do what I can to get them back in shape each year.  I have a few more baby fruit trees behind me too.

Enough about the trees.  This dress was quite a challenge for me to make because I didn't buy the right amount of fabric.  In order for me to fit everything, I had to get incredibly creative with pattern placement.  Nary a scrap of fabric was wasted.

This is my Victoria's Secret shot.  I love the sunspots on some of these photos!

I don't have much to say about the construction of this dress that I haven't already said before.  It gets easier ever time.  I don't think I referenced the instructions at all.  I'm still using the size 3 for the bodice and sleeves and size 2 for the skirt, grading down to the 2 at the waist.


I got so many compliments wearing this dress.  Well, I still get compliments every time I wear this dress.  Someone told me I looked stunning in my red dress.  

I think it's the perfect shade of red for me.  The higher hem is growing on me.  I love the shape and silhouette of this dress.

This is quite literally all the fabric left of my yard after cutting the pattern pieces.  I cut the long sleeve cuff pattern piece because I thought it would simply leave me with a narrower cuff on my 3/4 length sleeve.  I was mistaken.  The cuffs are the same height with a narrower horizontal width on the long sleeve.  I had to S-T-R-E-T-C-H the cuff when I was sewing it on the sleeve.  That was my only true construction problem once I had all the pattern pieces cut out.  I could have cut the cap sleeves, but I don't like that style as much on this dress.  I'm glad it worked in the end!

Monday, October 21, 2013

FO: Lady Skater Dress

Lady Skater Dress
Just the Facts:
Fabric:  purchased 2 yards of emerald/teal/blue interlock knit from JoAnn's (think I still have enough for a t-shirt!) $12.70
Notions: Thread from stash, clear elastic
Pattern:  KitschyCoo Lady Skater Dress
Year: modern ~2013
Time to Complete:  ~8 hours including assembling and cutting the pattern
First Worn: October 16, 2013
Wear Again: yup
Total Cost: $14 + $10.50 or so for the pattern

(Ugh.  Weird face.)  I cut the size 3 in the pattern because that's what matched my upper bust.  I had a really hard time with that neckband.  And then I realized I didn't transfer all the pattern markings.  D'oh.  This went together fairly quickly and easily and probably wouldn't have taken me nearly as long to make this as it did if I wasn't fiddling around with my different machine stitches and zig zag lengths and widths to get the right one.  I also tried to use my walking foot.  No joy.  The pressure was all wrong and I didn't want to mess with that any further.
 
This shirt is actually a pretty good fit.  I always have a hard time finding tops that fit right in RTW.  With knits, the shoulder seams don't hit the right place, the armpits ride up crazy bad, and there's a ton of wrinkling in the back.  With this top, it actually fits pretty good in the arms and shoulders.  I still need the swayback adjustment--not because of an actual swayback, but because my butt is dramatically larger than my back and it creates extra fabric along the small of my back.
I adjusted the back quite a bit here.  Actually, when I looked in the mirror, there weren't any wrinkles at all back there.  I guess these came about from the way I was standing.  Whatever.  I can't see them and they aren't uncomfortable.

Another reason this took me so long is because I essentially had the entire dress finished, save the hem, and I decided the waist was pulled way too low.  I knew I wouldn't wear it this way and ain't nobody got time to make something that they ain't gonna wear.  Right, Sweet Brown?  So I pulled out my super sweet new Gingher seam ripper and unpicked the serged side seams and the serged waist.  FYI:  A lot of thread ended up on my carpet.  Imagine an Alot of Thread.  There was an Alot monster on my floor.  A big blue and white thready beast.

After the unpicking debacle, I decided to chop 1.5" off the bottom of the bodice.  I resewed this baby up and now I have this basic blue dress.


It could stand to be a bit thinner in the waist.  I think at least 1" thinner.  I'll grade down to the 2 in the waist next time I make this dress.  Oh yes.  There WILL be a next time.  I have some black jersey stuff that will make an awesome half-sleeve version.  Maybe I'll even change the scoop to a V.  I has a fancee.  I feel like I'm showing an awful lot of leg in this dress.  Oops.  I guess I'm more modest than I thought!  I cut the skirt to the approx.imate finished length I wanted and then I chopped off some of the bodice.  My bad.  But look at my quads.  I mean seriously.  I'm so ripped.


This photo makes me look seriously pregnant.  Should I ever become actually pregnant, I think I will have a lady skater dress for every day of the week.  How perfect?

I went ahead and serged the raw edge of the hem before hemming it.  LIKE A BOSS.  Third serger project, what-what!  I did a twin needle hem.  This is my first actual project using the twin needle.  It took me about 45 minutes of playing around with the settings to get the underside of the stitch to be somewhat satisfactory.  I still need to play more because I got the dreaded tunnel on the right side.

Look at my sexy legs tunnel.  Vintage machines are so amazing and so finnicky.  Do any of my readers sew with a Singer 401/401A?  I could use some tips on getting the fabric to feed correctly with my walking foot.
 
Have a great week!