Showing posts with label baking. Show all posts

Wednesday, November 26, 2014

Food Friday: Pear Brownies

I know it's not Friday yet.  I wanted to post this simple recipe in case you need any last minute desserts for Thanksgiving.  These aren't really brownies or blondies, but what else do I call gooey bars of delicious?


On to the recipe (you can skip down to the bottom for the written or grab the printable here).

What you need:  flour, sugar, vegetable oil, cinnamon, vanilla, eggs, salt, baking powder, and a large pear

3 eggs in a bowl

  
Whisk the sugar and eggs together until light and fluffy (sort of custardy)

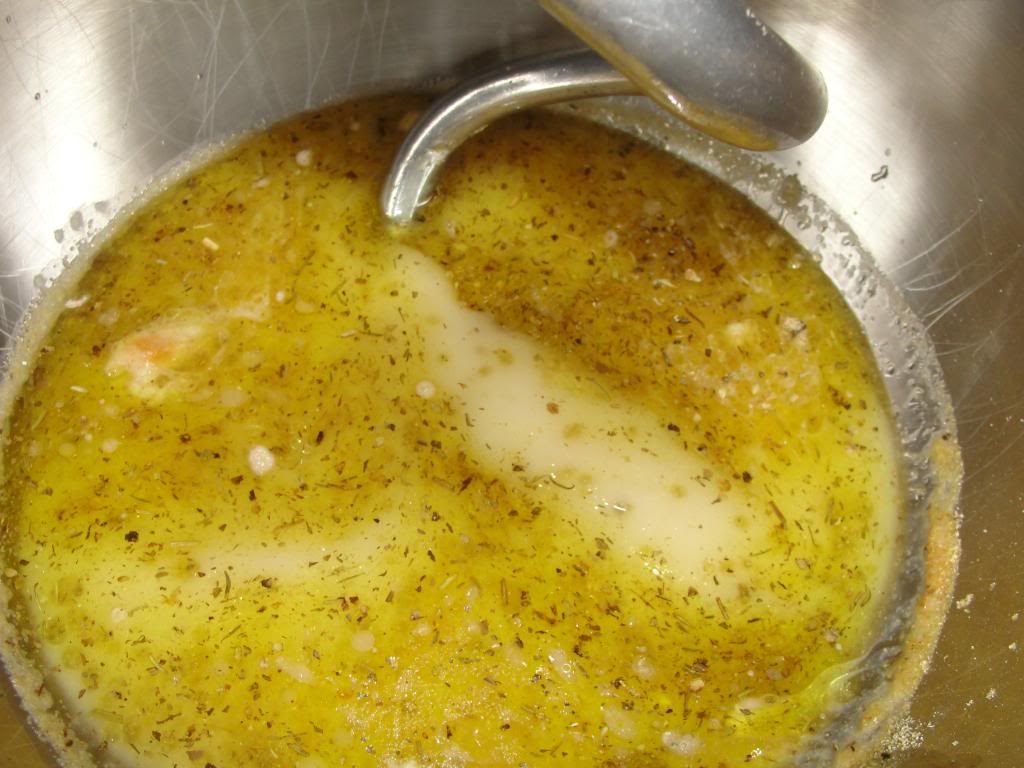
Add the vanilla and the oil

Cinnamon is one of my favorite spices.  Add a heaping teaspoon of that (or more if you are me).

I love the way stuff looks when it's being mixed together!

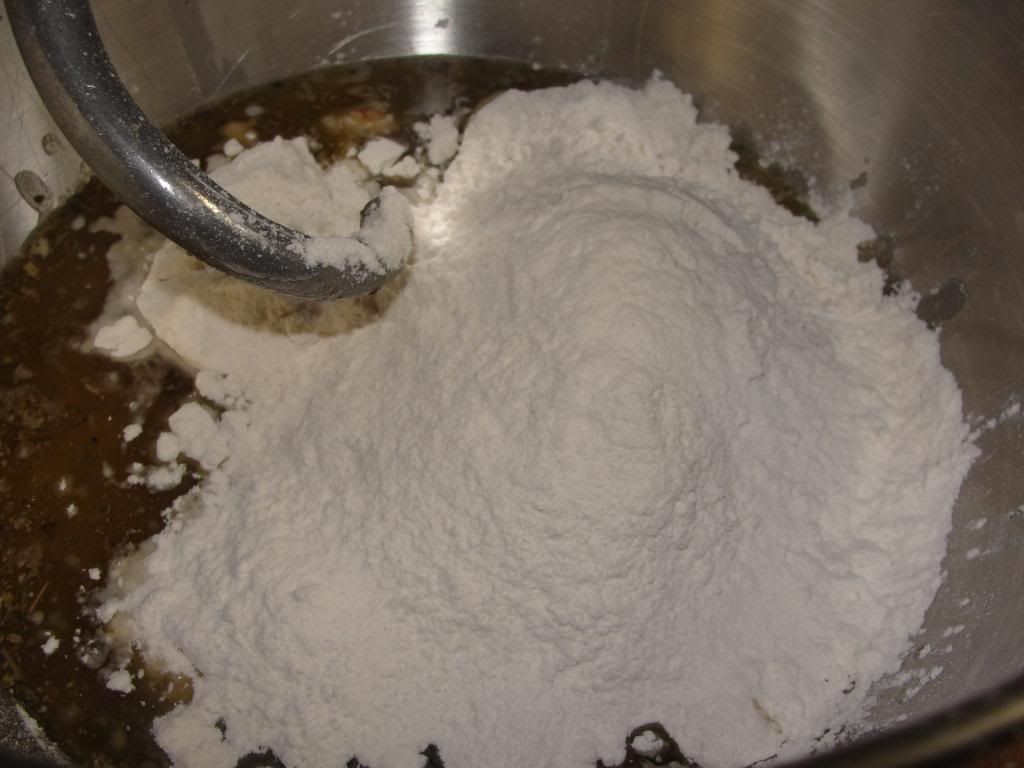
Sift in 1/2 teaspoon salt, 1 teaspoon of baking powder, and 2 cups of flour
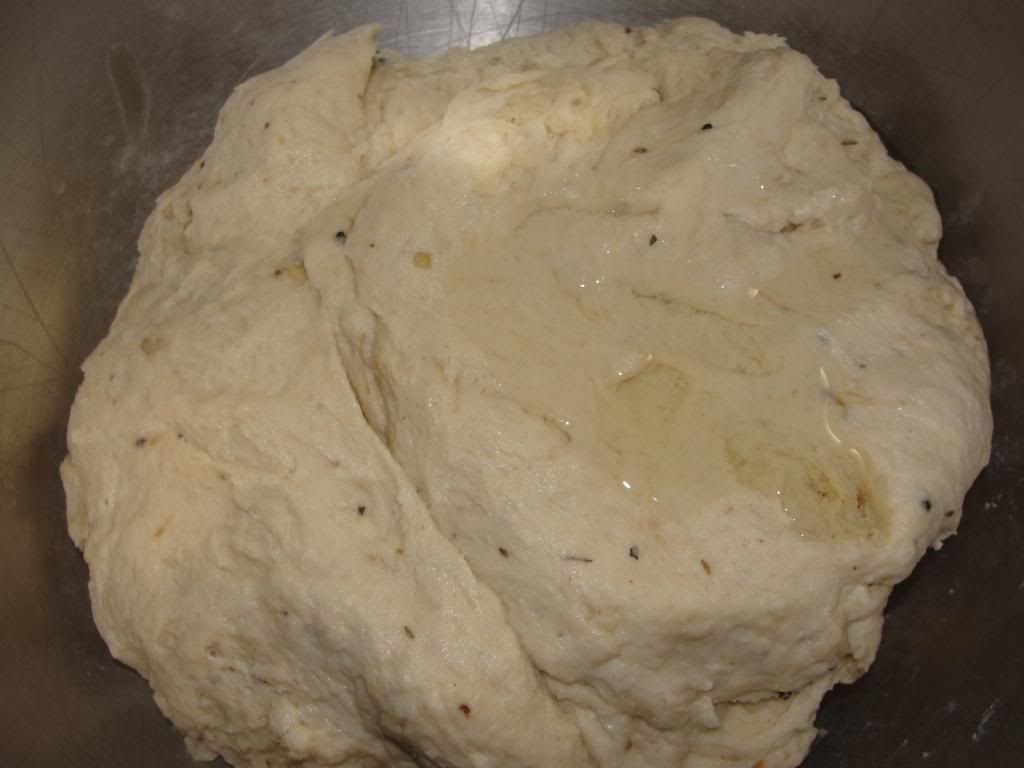
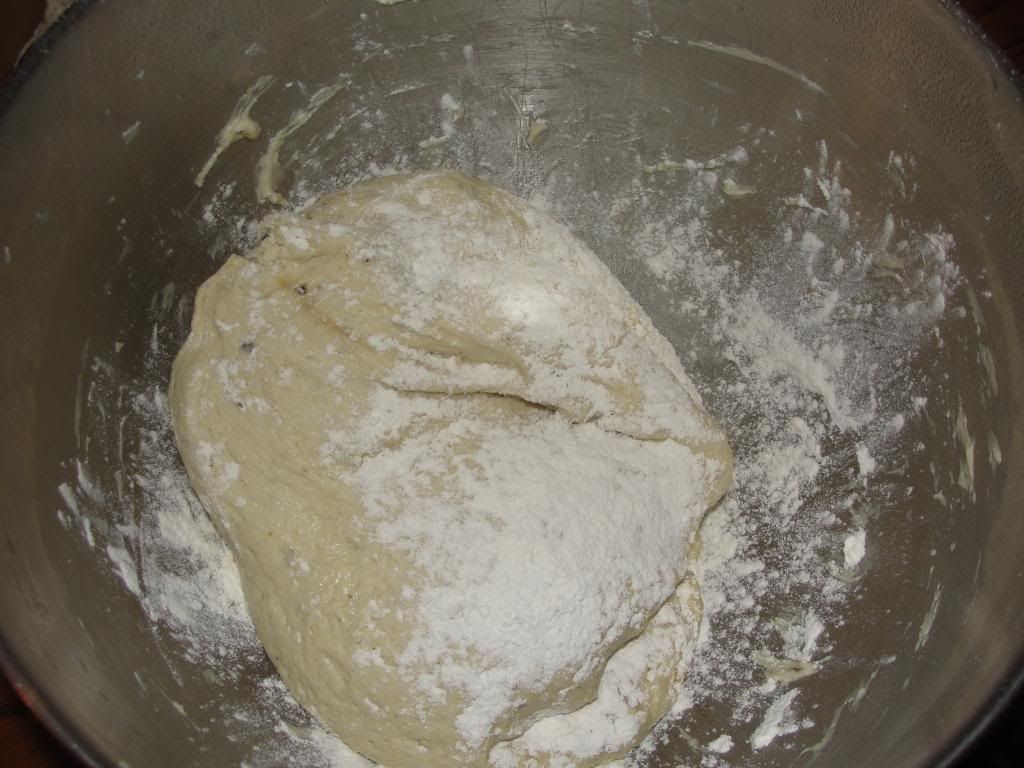
Mix it all up

 
Gently fold in the pears (or apples)

Spread in a 9x13 pan (the yellow on mine is that baking spray stuff.  Pam maybe?  I didn't really need it for this pyrex pan, but I wasn't taking any chances.)
 
  
After about 40 minutes, you get this delicious gooey hunk of amazing with a creme brulee-esque top.  I ate mine with some greek yogurt because I like that sweet/tart flavor combo.
 
The entire pan disappeared before I could take photos the first time I made these brownies.  This is my second go at them.

I was so tempted to grind some of this cinnamon sugar on top of my yogurt.  I thought it might be overkill, but now I wish I had.  That yogurt looks so plain next to the brownies.

Have a recipe. (Link opens printable recipe in a new window)

Pear Brownies
Ingredients:
3 eggs
1 3/4 cups sugar
1 teaspoon vanilla extract
3/4 cup vegetable oil (increase to 1 cup if using apples)
1 heaping teaspoon cinnamon
1/2 teaspoon salt
1 teaspoon baking powder
2 cups all-purpose flour 
2 cups diced pears (or apples)

Directions: 
Heat oven to 350­°.  Whisk eggs and sugar together until light and fluffy.  Add vanilla and vegetable oil.  Stir in cinnamon.  Sift salt, baking powder, and flour into the wet ingredients and stir to combine.  Gently fold in pears (or apples).  Bake for 35-45 minutes in a 9x13 baking dish.  If using aluminum, grease the pan.

Tuesday, August 6, 2013

Recipe: Blueberry Lemon Scones

My coworker gave me a quart of blueberries and I immediately wanted to make scones.  I figured blueberries and lemons would be the perfect combination.  A good scone should hold up well on it's own, that is, you shouldn't need butter or jam or a sweet glaze in order to make it taste good.  I decided to make a glaze for mine anyway.  Even though it isn't neccessary, I liked that extra sweet/tart combination on top and I left several scones unglazed as well. 
Cast of Characters:  Flour, sugar, baking powder, lemons, blueberries, powdered sugar, heavy cream, salt, unsalted butter

Mix 2 cups flour, 2 tablespoons granulated sugar, 1 tablespoon baking powder, and 1/2 teaspoon of salt together.
Cut the butter into the flour mix  using a pastry cutter

The mixture will be coarse and you'll have pea-shaped crumbles when it's thoroughly mixed.

Wash and inspect your blueberries before you put them in the flour mix.  Mine had some organic materials still attached!  You need about 1 cup of blueberries, more or less depending on your taste.


Using a rubber spatula, gently fold the blueberries into the flour mix being extremely careful not to break the berries.  Blue scones might not be so appealing to everyone!
 
Squeeze in the juice of 1/2 a lemon

And add the zest of 1/2 a lemon

Make a well in the center of the flour mix and add 1 cup heavy cream.  Gently fold to incorporate all the ingredients.  It will still be kinda crumbly.

Dump the contents out on a lightly floured pastry board and press out into a circle about 1/2"-3/4" thick, depending on your size preference.  Mine was 1/2" thick.

Using a pizza cutter, slice the scones into wedges.

Onto the baking sheets...

Brush the tops with more heavy cream before tossing the sheets into the oven for 15-20 minutes at 400°

While those are baking, mix 3/4 cup powdered sugar, 2 tablespoons heavy cream, the juice of 1/2 lemon, and the zest of a whole lemon in a smaller bowl.  This is your glaze and it is glorious!

They come out of the oven nice and golden like this.  Allow them to cool slightly before drizzling the glaze over the top.

Yumm-o! 

Enjoy!

A printable version of this recipe is here (opens in a new window).  I hope you enjoy the recipe.

~elle

Blueberry Lemon Scones
Ingredients:
 
Scones:
2 cups all-purpose flour
2 T granulated sugar
1/2 t salt
1 T baking powder
6 T unsalted butter
1 cup blueberries
zest of 1/2 lemon
juice of 1/2 lemon (approx 1 T)
1 cup heavy cream + a bit more to brush the tops
 
Lemon Glaze (Optional):
3/4 cup powdered sugar
juice of 1/2 lemon (approx 1 T)
zest of 1 lemon
2 T heavy cream
 
Preparation:
 
Sift flour, granulated sugar, salt, and baking powder together in a bowl. Cut the butter into the flour mixture using a pastry cutter or two forks until crumbly. Gently fold in the berries being careful not to smash them. Make a well in the center of the flour mixture and add the lemon zest, lemon juice, and heavy cream. Gently fold to incorporated the wet ingredients with the dry ingredients. The dough will be crumbly. Dump the contents onto a lightly floured pastry board and press into a circle about 1/2"-3/4" thick. With a pizza roller, cut the dough into triangles and place on a baking sheet. Brush the tops of the scones with heavy cream before baking. Bake at 400° for 15-20 minutes until golden brown.
 
While those are baking, prepare the optional lemon glaze. Whisk powdered sugar and second amounts of lemon juice, lemon zest, and heavy cream in a bowl. Allow the scones to cool a bit before drizzling the glaze over the top.
 
Makes 8-12 depending on thickness.

Friday, February 15, 2013

Freezer Friday: Planning

People ask all the time if freezer cooking is really worth it.  I know it is and here's why:

  1. You only have to clean the kitchen once a month.  My kitchen is destroyed on the day I do most of my cooking, but I clean it after and it stays relatively mess-free the rest of the month.
  2. You always have a meal to take to someone in need or extra food when unexpected guests arrive.
  3. You don't have to dread coming home and having to cook.  Just pull something out that thaws quickly or doesn't need to be thawed and get dinner ready for yourself or your family.  I've already posted several of my favorite recipes:  basil pesto chicken stuffed shells (just add some bread and a salad and you have a full meal), mongolian beef stir-fry (add some rice, your veggies are already in there), and pizza dough (if it's already topped, you only have to preheat the oven and you're done!)
  4. I always have fresh baked cookies.  Enough said.
  5. It saves you money.  You can watch the sales and buy things when they go on sale.  You can plan several meals that involve the same basic ingredients--if you get a great deal on chicken, prepare your chicken four different ways and toss it in the freezer for later.  You only need half an onion for a recipe?  Chop all of it and put the other half in the freezer.  Less chopping you have to do next time.  If you are making lasagna, go ahead and make two pans--one for now and one for later.  It is marginally more work to make double of something and you get twice the benefit.  Actually, that is a great way to start freezer cooking if you are on the fence about it.  Whatever you are having for dinner tonight, double it and save the rest.
Here are some helpful links if you just aren't convinced yet:
What if I don't like casseroles?
How do I get started?
Freezer cooking basics
What can I freeze?

And here are some great pdfs:
Menu Planner Pack
Freezer Planner Pack

Do you think freezer cooking is worth it?  Leave me a comment and let me know!

Have a great weekend!
~elle

Friday, February 8, 2013

Freezer Friday: Pizza

Who doesn't love pizza?  This is another "I'm too tired to even think about what to eat tonight" recipes.  You can prepare just the dough and top the pizza the night of baking or prepare the entire pizza and freeze that.  It's your choice.  I'm going to share my dough recipe, which will make 4 medium-sized pizza crusts or 8-10 personal-sized pizza crusts.  I normally keep personal pizzas at work for a quick lunch.  It helps me save some money by not eating out for lunch!  Speaking of saving money, I did the math on the pizza and each personal-sized one costs me $0.75 for just cheese and $1.00 if I top it with loads of pepperoni.  You can't deny that kind of awesome!

Let's get started:  

Cast of Characters:  yeast, warm water, garlic powder, olive oil, flour, kosher salt, sugar, Italian herb seasoning (I use Durkee Grill Creations even though pizza dough is not the intended use)
Mix warm water, yeast, and sugar together.  I know my yeast is good, so I don't proof it.  Add in the olive oil.
Add salt, garlic, and Italian herb seasoning and mix everything together
Add the flour
Mix, mix, mix!  Magic dough ball!  Once everything is thoroughly incorporated, leave the dough to rise.  This picture shows olive oil on top.  I do this to keep the dough from drying out and/or sticking to the bowl as it rises.  There's also some olive oil on the bottom of the bowl.
Put a damp towel over the top of the bowl and let dough rise for a while.  I typically let my dough rise for 3-4 hours.  Mostly because I do other things and forget about it. It's fine.  You don't have to burp this dough.  It's more like a no-knead dough.
Punch the dough back down and make it into a ball again.  I'm getting ready to shape it into pizza crusts, so I sprinkled flour on top to make it easier to pull dough balls from it.
I'm making rather small crusts.  For this, I pull dough balls about the size of a baseball.
Me in action!  Push an indentation in the middle of the dough ball and start working the dough into a larger, thinner crust.  This crust-making does take some practice, so don't get discouraged if it doesn't just happen for you.
Even I make some wonky-looking crusts.  I'm okay with this.  Press some indentations into the center of the crusts with your fingers.  You don't want the middle of the crust to rise to the same level as the actual crust when it is parbaked later.  Trust the skills!  Here's where I apparently forgot to take pictures:  Sprinkle cornmeal on the baking sheet before you put the dough down to keep the crusts from sticking to the baking sheet.  I also like the crunchy bottom on my pizza.  To parbake, preheat your oven to 500°.  You are going to parbake the crusts for 3 minutes.  Allow the crusts to cool for a bit.  At this point, you can either flash freeze the crusts and put them in a freezer bag or wrap with foil (depending on size) or continue topping the pizzas before flash freezing and storing in the same method.  I'm going to top my pizzas now.
Ooh!  Sauce!  (This is the awkward moment where I realize I deleted all my other pictures thinking they were already uploaded to photobucket.  Oops.)  So put a little sauce on each crust to your liking.  Top with cheese.  I find that the toppings slide right off in a freezer bag.  If you want to do something crazy like BBQ buffalo chicken pizza, it's probably best to put those toppings in a separate freezer bag and just keep it with the crusts.  Or--top however you want and wrap the pizzas in foil. That works too.
Freezer-Friendly Pizza Dough


(makes 4 medium pizza crusts or 8-10 personal pizza crusts)
Ingredients:
2 packages yeast (or the equivalent in teaspoons from a bulk jar)
2t sugar
2c warm water
1/2c olive oil + more to coat bowl
2t salt
2-3T garlic powder depending on how much you like garlic
1.5T Italian herb seasoning
5c all-purpose flour

Preparation Instructions:
Preheat oven to 500°.  Mix yeast, sugar, warm water, olive oil, salt, garlic powder, and Italian herb seasoning together in a big bowl.  You need at least a 5-qt bowl I would say.  Add the flour and mix dough to combine everything thoroughly.  Pick up the dough and put a bit of olive oil on the bottom of the bowl.  Drop the dough back in the bowl and pour a bit more olive oil on top.  Place a damp kitchen towel over the top of the bowl and allow the dough to rise until it has doubled in size.  Punch the dough back down and reform it into a ball.  Sprinkle flour over the top of the dough.  If you want to make medium-sized pizza crusts, score the dough equally in quarters and roll it out to your desired thickness.  For personal-sized pizzas, pull baseball to softball-sized portions of dough and work each into a crust by hand.  Begin by putting an indentation in the center of the ball and slowly working the dough thinner from the center out.  Place each crust onto a baking sheet sprinkled with cornmeal.  Parbake the crusts for 3 minutes.  Allow the crusts to cool before flash freezing and storing or continue on to top the crusts as desired.

Baking Instructions:
Preheat oven to 500°.  Bake pizza 15-20 minutes from frozen.

Here's the printable version of this recipe (opens in a new window).

Enjoy!
~elle

Sunday, February 3, 2013

Bacon Cheese Twisty Things


My mom loved to throw parties when I was a child.  I remember her making these and some chicken/bacon pinwheels that were really good (I wish I could remember what was involved with making those).  I got to help out with these and they are super-simple to make.  The preparation process takes maybe 15 minutes and then you just toss them into the oven to bake low and slow.  These are delicious and almost effortless.  Even better, if you still need to come up with something to bring to your Superbowl party tonight, you still have time to make these!  Here's how:
Cast of characters:  Bacon, Parmesan cheese, and club crackers (Seriously, that's it!)
Cut the slabs of bacon in half.  I need lots of twisty things, so I'm using two pounds of bacon.
Arrange the club crackers on a cooling rack on top of a baking sheet.  You want the bacon grease to fall away as it cooks so the bacon will crisp up.

Scoop out the Parmesan cheese.  I use a teaspoon. 

Spoon it right on top of the club crackers.  It doesn't have to be perfect.
Some assembly required.  Pick up a cracker
wrap the bacon around from one end. . .
. . . to the other.
Ta-Da!
Repeat the whole wrapping thing until you run out of bacon or crackers or cheese.
Bake these guys at 250° for 2-3 hours.  Here they are after just one hour.
And here they are all done after three hours!  The ones on top were made with bacon that was a little thicker.  I prefer my twisty things with crispy bacon, but I'm being equal opportunity for the party.
I'm guessing you don't really need a recipe, so I'm not going to spend the time creating a printable one.

Bacon Cheese Twisty Things
Ingredients:
Bacon
Parmesan Cheese
Club Crackers  

Cooking Instructions:
Preheat oven to 250°.  Arrange crackers on top of a wire cooling rack on top of a baking sheet.  Spoon Parmesan cheese over the crackers, about 1 teaspoon per cracker give or take.  Cut the bacon in half.  Pick up one of the crackers with cheese and wrap the bacon around the cracker, doing as best you can to cover both ends.  Once you run out of ingredients or have enough twisty things, put your full baking sheet(s) in the oven.  Allow to cook a minimum of 2 hours, but they will probably take more like 3 hours. 

Enjoy!
~elle