Showing posts with label kitchen. Show all posts

Friday, October 18, 2013

Recipe: Pear Pie

I grew up on a big chunk of land that happened to have something like an orchard on it.  We made so many apple pies.  My property now has several pear trees on it and I have an abundance of pears between August and October every year.  I adapted the apple pie recipe I remember as a kid into this pear pie recipe.

You start with a basic crust.  I prefer butter crusts.  You can use whatever your favorite crust is.  My recipe is 1 1/4c flour, 1 stick of butter, and 2-4 tablespoons cold water.

I can't be the only person with a dedicated pastry board right?  

Roll your crust out to slightly larger than your pie plate.

I cut off any excess bits and add them to the thin parts on the sides of the pie plate. I never can get it perfectly round.  

These photos were mostly a last minute, "Oh.  I should post this on the blog." kind of thing.  You will need ~5 pears, peeled and chunked.  Add 2 teaspoons of cinnamon, 1/2 cup sugar, 1 tablespoon each flour and cornstarch (or 2 tablespoons of one.  My pears were extra juicy and I wanted the cornstarch to absorb that juice.), and a scant 1/4 teaspoon of salt.  I use scant 1/4 frequently.  It's not to sound like one of the cool kids.  I don't have a measuring spoon smaller than 1/4.  And I figure if you are only adding 1/8 of a teaspoon, you can afford to fudge the measurement a little.  I ain't trying to be a gourmet chef over here.


So mix all that stuff together and put the pears on top of your crust.  

Here's the best part!!  The crumb topping.  Get another stick of butter.

And melt it all down!  (This is totally healthy for you. . . )

Add 1/2 cup brown sugar.

And 1 cup flour.

Mix mix mix until it's thoroughly combined.

Oh.  I forgot this part.  Take another tablespoon or so of butter and chunk it up into smaller pieces.  Sprinkle those around the pears.  Squirt with some lemon juice.  You can kind of see I started here.  You will take the brown sugar crumble and sprinkle it over the top.

You will have enough to cover the entire top.

Oh yes.  It's looking good.  Toss the pie (not literally toss) into a preheated 400º oven for 10 minutes.  Then lower the temperature to 350º and allow to bake for another 30-45 minutes.  The pie is done when you stick a fork in it and it easily pierces the pears.

My crumble top is so dark because I forgot to lower the temperature after 10 minutes.  I got sucked into candy crush.  Five extra minutes at 400º is all it took to brown that top.  :(  You definitely need to cook the crust at the higher temperature first to keep the crust crusty.  Without the higher temp or prebaking, the crust will end up all gooey on the bottom.  I don't like that. Crusty crust is where it's at.  Here's a photo of the slice at room temp on a dirty plate.  That's what happens at BBQ/potlucks!
 

Pear Pie
Ingredients:
Crust:
1 1/4c all purpose flour
1/4 teaspoon salt
1 stick (1/2 cup) butter
2-4 tablespoons cold water

Pie:
5 pears, peeled and chunked
1/2c granulated sugar
2 teaspoons cinnamon
1 tablespoon flour
1 tablespoon cornstarch
scant 1/4 teaspoon salt
1 teaspoon lemon juice 
2 tablespoons butter, cut into pieces

Crumble topping:
1 stick (1/2 cup) butter
1c flour
1/2 cup brown sugar

Preparation:
Preheat oven to 400º
 
For crust:  Cut butter into flour and salt mixture until course crumbles form.  Add water a tablespoon at a time until the crust holds together.  Chill for a bit (I honestly usually skip this step, but crust fanatics will whip me with a feather if I don't tell you to chill the crust.  Whatever.  I'm lazy.)  Roll the dough until it is slightly larger than the pie plate.  Gently place the crust into the pie plate and cut off the excess from the top.  Set this aside while you get the filling together.

For pear filling:  Mix pears, sugar, cinnamon, flour, cornstarch, and salt together in a bowl until everything is thoroughly incorporated.  Dump the pears into your prepared pie plate.  Dot the pears with pieces of butter and squeeze the lemon juice over the top of the pear mixture.  

For crumble:  melt 1 stick of butter.  Mix flour and brown sugar with the butter until thoroughly combined.  Taking a handful of this mix at a time, gradually sprinkle/crumble the mix over the top of the pears until the top is covered.

Bake for 10 minutes, then lower the oven temperature to 350º and bake for another 30-40 minutes, or until a fork inserted pierces the pears with little to no resistance.
                                                                                                                  

I'll work on getting a printable version of this recipe up over the next week.  I've been fairly lazy about doing that.  The only way I know how to make a printable version is by using a google site and that's just more work.  It's not really that much extra considering I can cut/paste from one location to the other, but still. 

This recipe is just like apple pie, but with pears!  People think pear pie is weird,
but try it try it, you will see!
Pear pie is tasty.  Listen to me!

Friday, February 15, 2013

Freezer Friday: Planning

People ask all the time if freezer cooking is really worth it.  I know it is and here's why:

  1. You only have to clean the kitchen once a month.  My kitchen is destroyed on the day I do most of my cooking, but I clean it after and it stays relatively mess-free the rest of the month.
  2. You always have a meal to take to someone in need or extra food when unexpected guests arrive.
  3. You don't have to dread coming home and having to cook.  Just pull something out that thaws quickly or doesn't need to be thawed and get dinner ready for yourself or your family.  I've already posted several of my favorite recipes:  basil pesto chicken stuffed shells (just add some bread and a salad and you have a full meal), mongolian beef stir-fry (add some rice, your veggies are already in there), and pizza dough (if it's already topped, you only have to preheat the oven and you're done!)
  4. I always have fresh baked cookies.  Enough said.
  5. It saves you money.  You can watch the sales and buy things when they go on sale.  You can plan several meals that involve the same basic ingredients--if you get a great deal on chicken, prepare your chicken four different ways and toss it in the freezer for later.  You only need half an onion for a recipe?  Chop all of it and put the other half in the freezer.  Less chopping you have to do next time.  If you are making lasagna, go ahead and make two pans--one for now and one for later.  It is marginally more work to make double of something and you get twice the benefit.  Actually, that is a great way to start freezer cooking if you are on the fence about it.  Whatever you are having for dinner tonight, double it and save the rest.
Here are some helpful links if you just aren't convinced yet:
What if I don't like casseroles?
How do I get started?
Freezer cooking basics
What can I freeze?

And here are some great pdfs:
Menu Planner Pack
Freezer Planner Pack

Do you think freezer cooking is worth it?  Leave me a comment and let me know!

Have a great weekend!
~elle

Saturday, February 2, 2013

Maple Cheesecake Cupcakes with Bacon!

Need I say more?  Wait.  I do?  Ooookay.  The idea for these cupcakes was born from a post on Facebook.  I hate making decisions, so I posted a poll on the event page for my friends' annual Super Bowl party asking if people would prefer bacon cheese twisty things or cheesecake cupcakes with strawberries.  One of my friends commented "bacon cheese twisty things, or bacon cheesecake cupcakes."  I suggested maple cheesecake with chocolate dipped bacon?  My friend replied, "Hell Yeah!"  While I nixed the chocolate dipped bacon in favor of the simpler candied bacon, you have my friend Matthew to thank for the inspiration.

I'm using my standard cheesecake formula with a few tweaks--namely, add maple syrup and subtract lemon.  Let's get started:


Cast of Characters:  cream cheese, bacon, dijon mustard, maple syrup, pepper, salt, butter, graham cracker crumbs, sugar, flour, eggs, vanilla
put graham cracker crumbs and sugar in a bowl
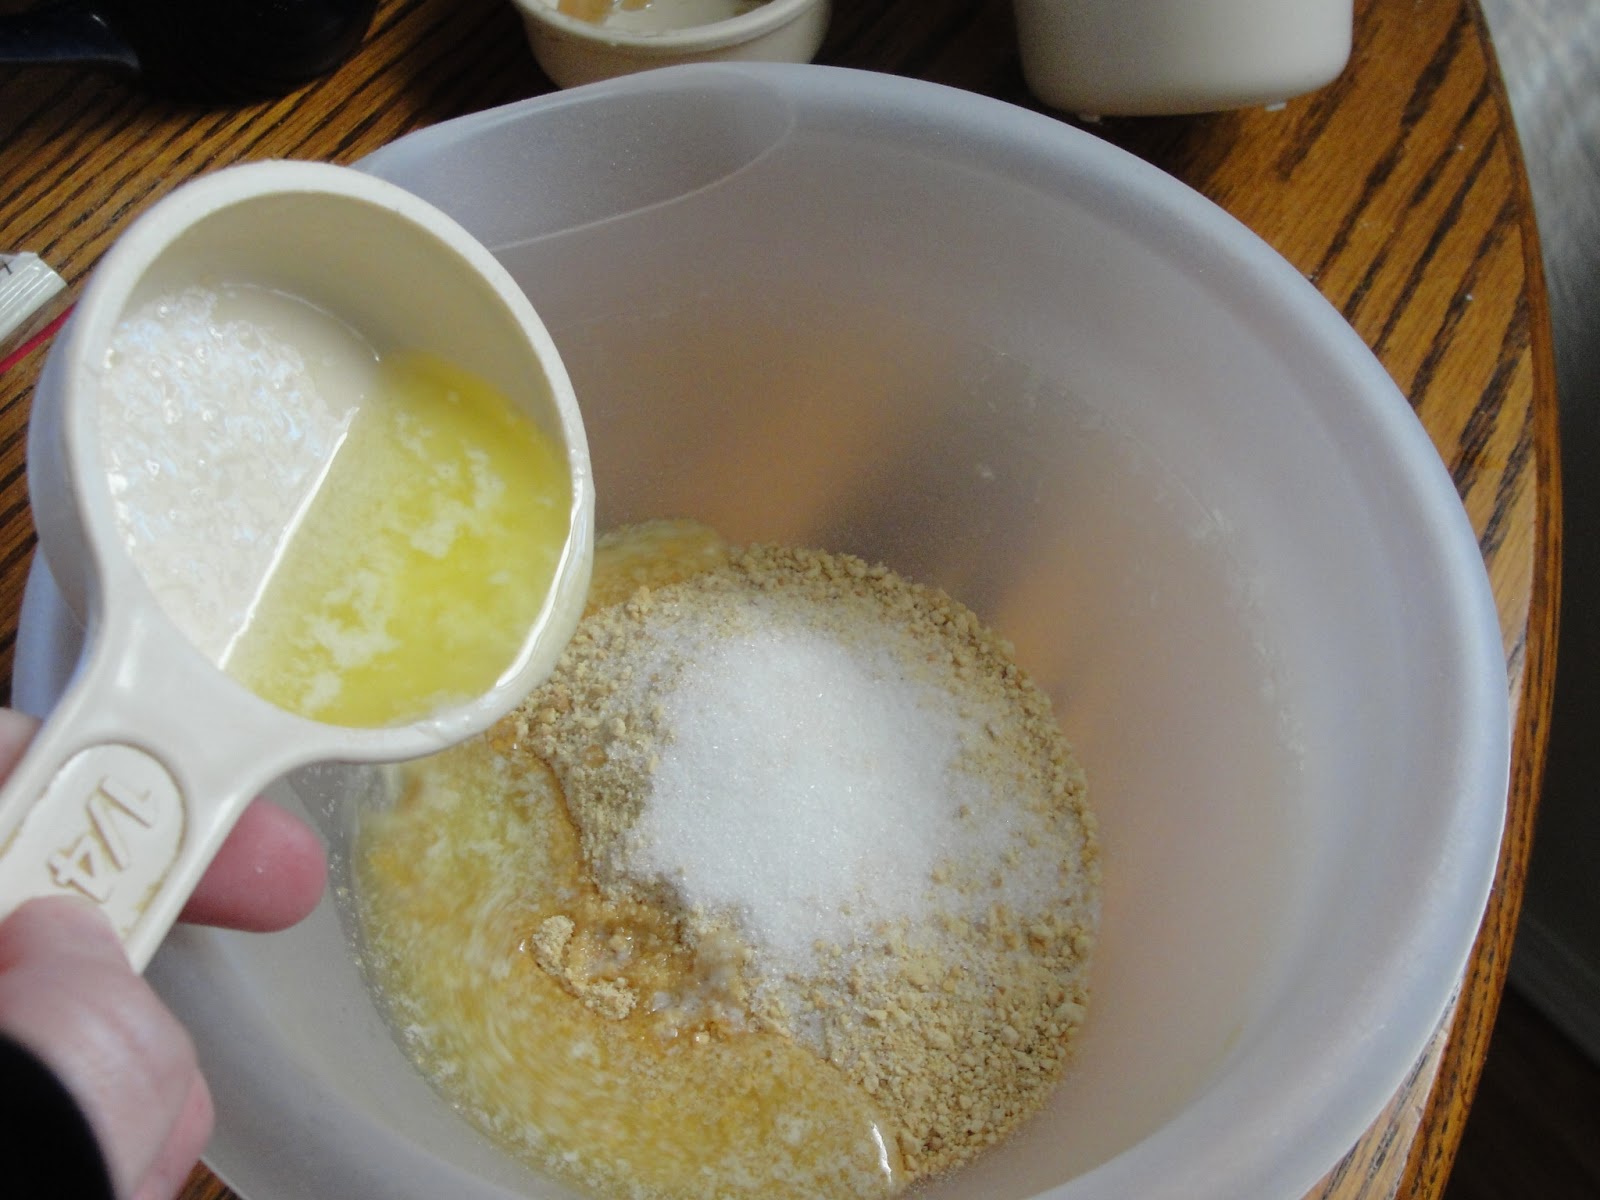
add melted butter
mix those things together until the crumbs are thoroughly coated with butter


scoop the crumb mixture in your cupcake liners
fill up the liners with the cheesecake mixture
whisk together maple syrup and dijon mustard
liberally spread the maple syrup/mustard mix onto the slices of bacon


Maple Cheesecake Cupcakes with Candied Bacon
(makes 18 cupcakes)

Ingredients: 
1/2c graham cracker crumbs
1t sugar
2T melted butter
16oz cream cheese
2/3c sugar
1/3c maple syrup
3T flour
1/4t salt
2 eggs
1t vanilla
6 slices of bacon
1/2c maple syrup
1t Dijon mustard
Pinch of pepper

Cooking instructions: 
For Crust:  Preheat the oven to 350º.  Combine graham cracker crumbs, first amount of sugar, and melted butter.  Stir until graham cracker crumbs are evenly coated with butter.  Line cupcake pan with cupcake liners.  Spoon the crust mixture into the cupcake liners and tamp down with your fingers.  Place the crusts in the oven and bake about 8 minutes to avoid the crumbly crust when you take the cupcake out of the liner to eat.

For Cheesecake:  Cream the cream cheese and second amount of sugar together with a mixer.  Add first amount of maple syrup, flour, salt, eggs, and vanilla and mix until smooth.  Make sure your cream cheese is at room temperature; otherwise you will end up with lumpy batter.  Begin filling the cupcake liners with the cheesecake mixture.  Cheesecake doesn’t rise like other baked goods because it doesn’t have a leavening agent, but you still don’t want to overfill the cups.  Bake for 20 minutes.  Allow the cakes to cool on the counter before moving to the refrigerator to set.

For Bacon Garnish:  Arrange the slices of bacon on top of a cooling rack on top of a baking sheet.  You want the bacon fat to drain to the bottom of the pan while it’s cooking so your bacon crisps up a bit.  Whisk second amount of maple syrup and Dijon mustard together.  Liberally coat the bacon strips with the glaze.  Bake in the oven 12-15 minutes.  Take the baking sheet out, sprinkle a tiny bit of pepper on each slice, flip the bacon, coat the other side with the glaze, and return to the oven for another 8-10 minutes, or until it is at your preferred doneness.  Sprinkle pepper on the other side of the bacon.  Allow to cool before breaking each strip of bacon into thirds and arranging on top of the cheesecakes.

Enjoy!

For a printable version of this recipe, click here (recipe will open in a new window).

Let me know what you think!  Leave me a comment here or send me an email at ellelittleblogATgmailDOTcom

Friday, February 1, 2013

Freezer Friday: Mongolian Beef

Here's the second installment of my weekly series Freezer Friday.  Go me!  I said it before, I love stir-frys.  They are so easy and convenient for me.  The recipe I'm sharing today is for a spicy Mongolian beef (not to be confused with that other non-spicy Mongolian beef you can get at some Chinese places).  Let's get started:
Cast of Characters
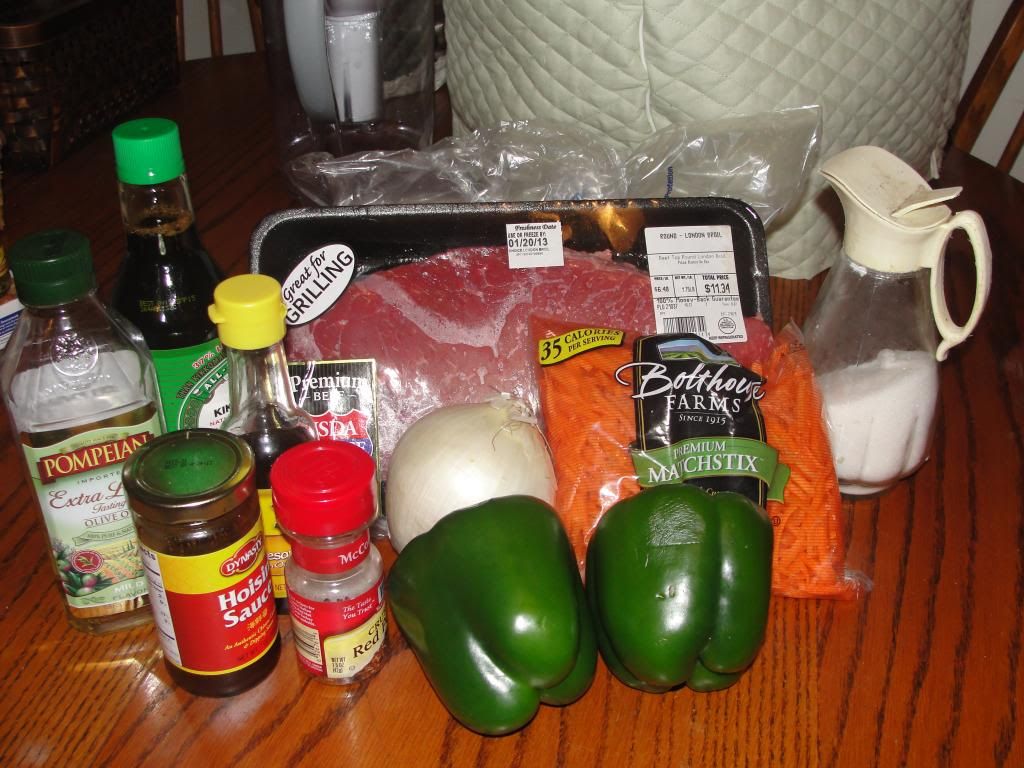
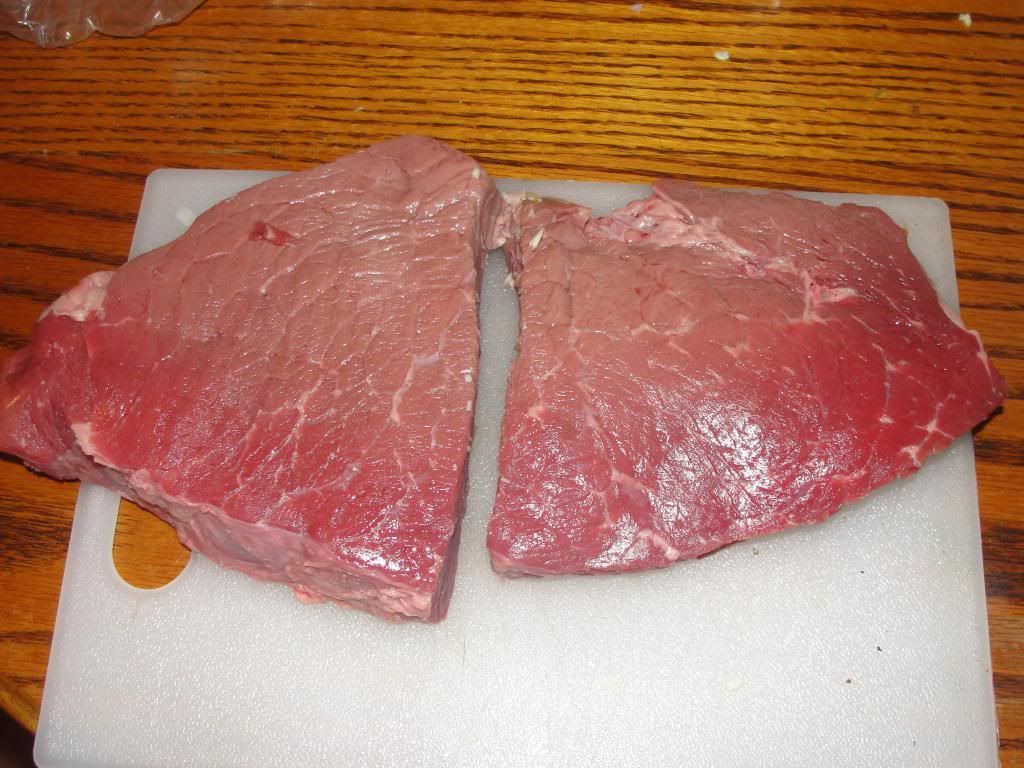
White onion, hoisin sauce (this is part of your spice), two bell peppers, matchstick carrots, red pepper flakes, sugar, garlic (MIA, but trust me, you need it), sesame oil, soy sauce, and a nice hunk of beef--you can use flank steak, but why would you?  Do yourself a favor and pick up a London broil.  It's much better and usually the same price as the flank steak.
Add all the wet stuff to a Ziploc bag--I split mine into two bags because it's better for me
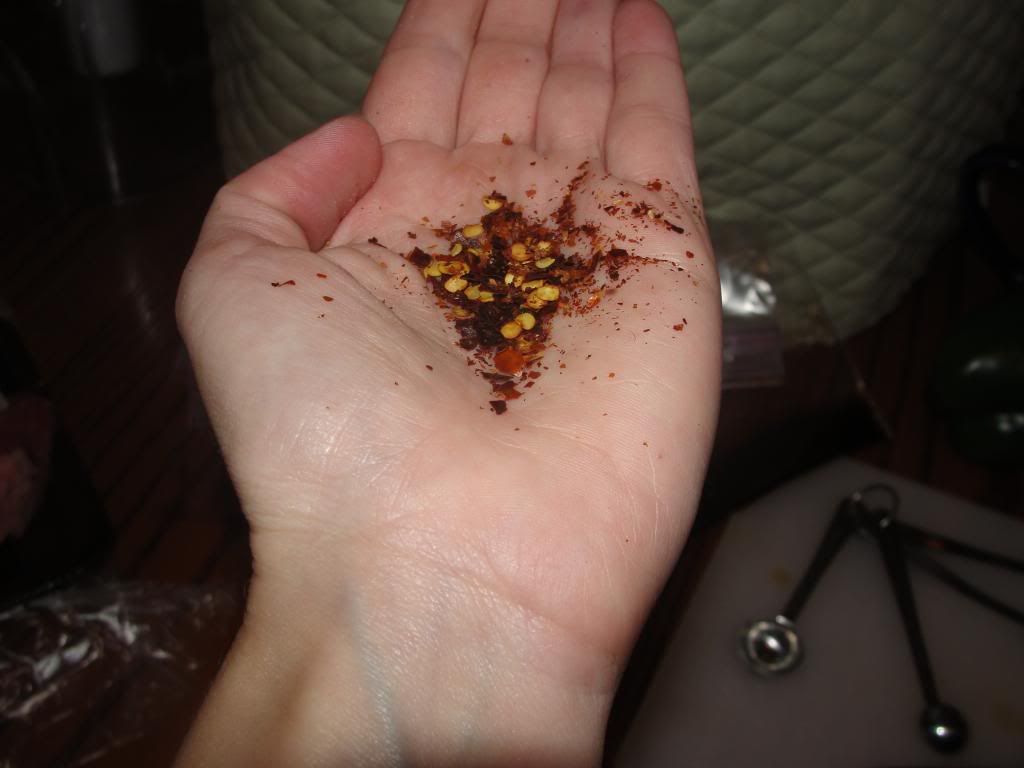
Add red pepper to the bag--about this much, more or less depending on your desired level of spice

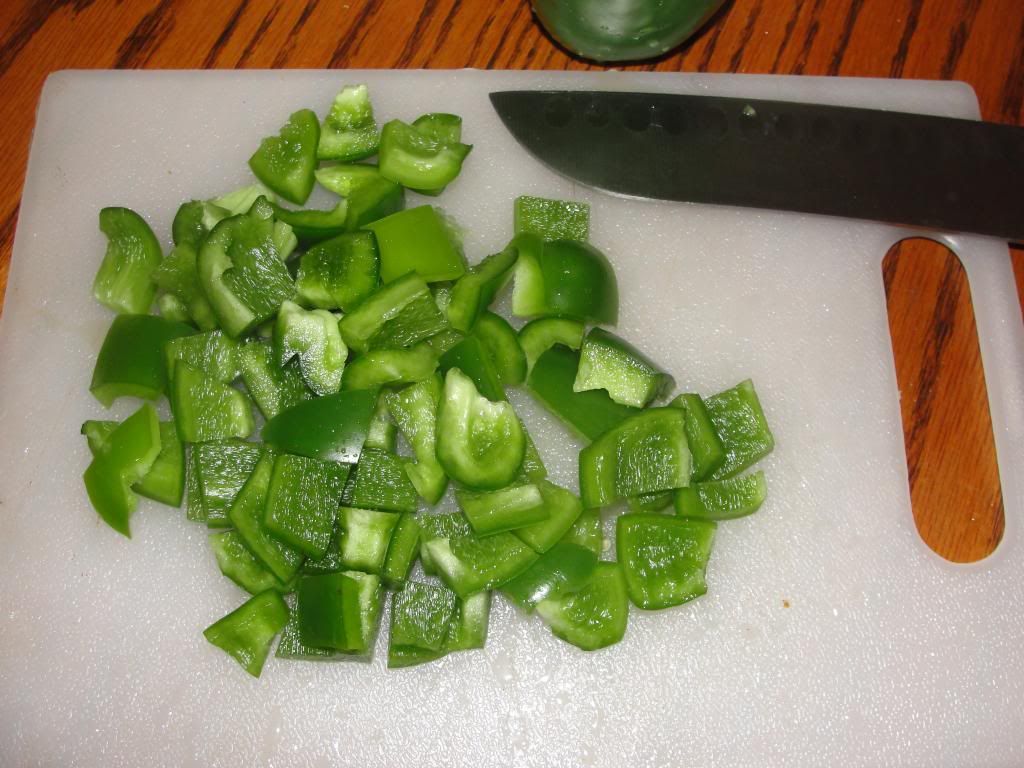
Chop the 2 peppers (I hate this cutting board so much OMG!) and put the pieces in the Ziploc bags.  I ended up swapping that smaller pepper for one about the same size as the other one.  I have food inconsistency weirdness. 
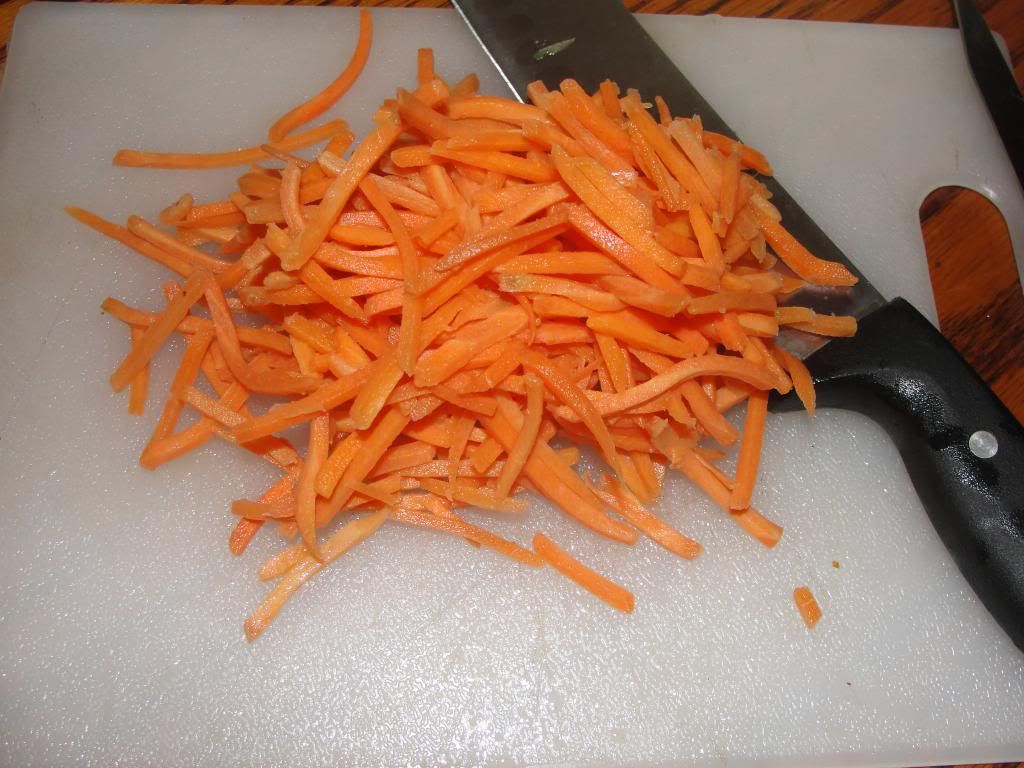
Add a couple handfuls of carrots to each Ziploc--about 1.5 cups
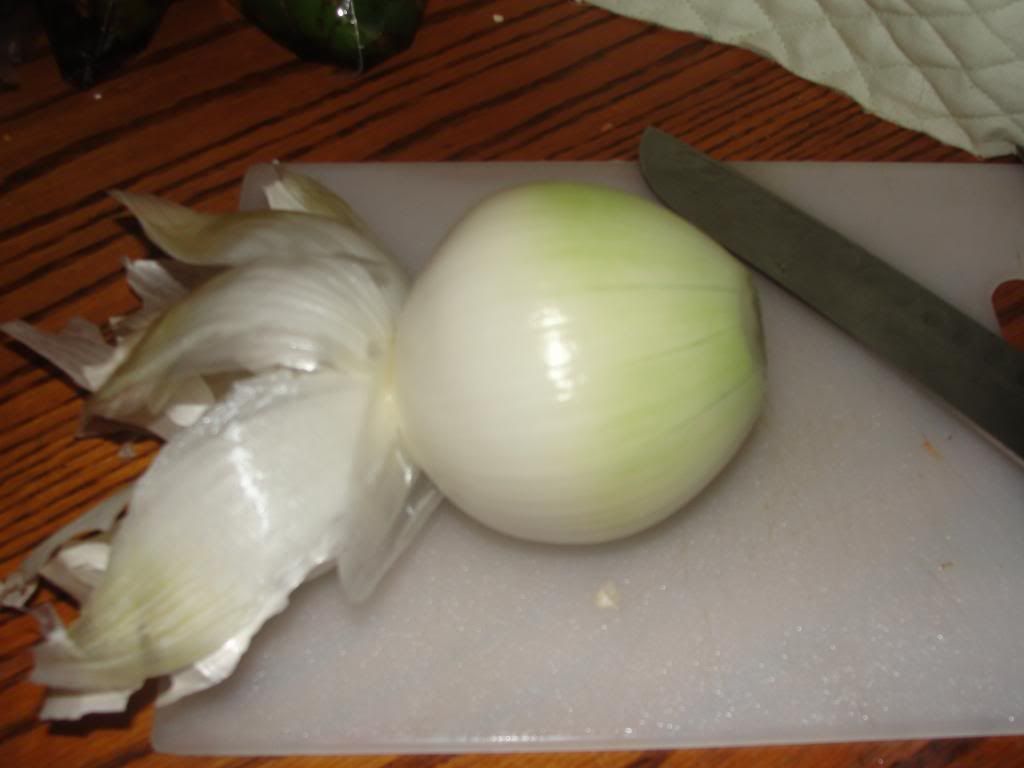
Someone showed me this onion cutting trick a couple years ago.  I love it!  Cut the top of the onion off and peel the first few layers back towards the roots of the onion.  Then hold onto the layers tail while you are slicing the onion.  Isn't that so perfect?  Try it!
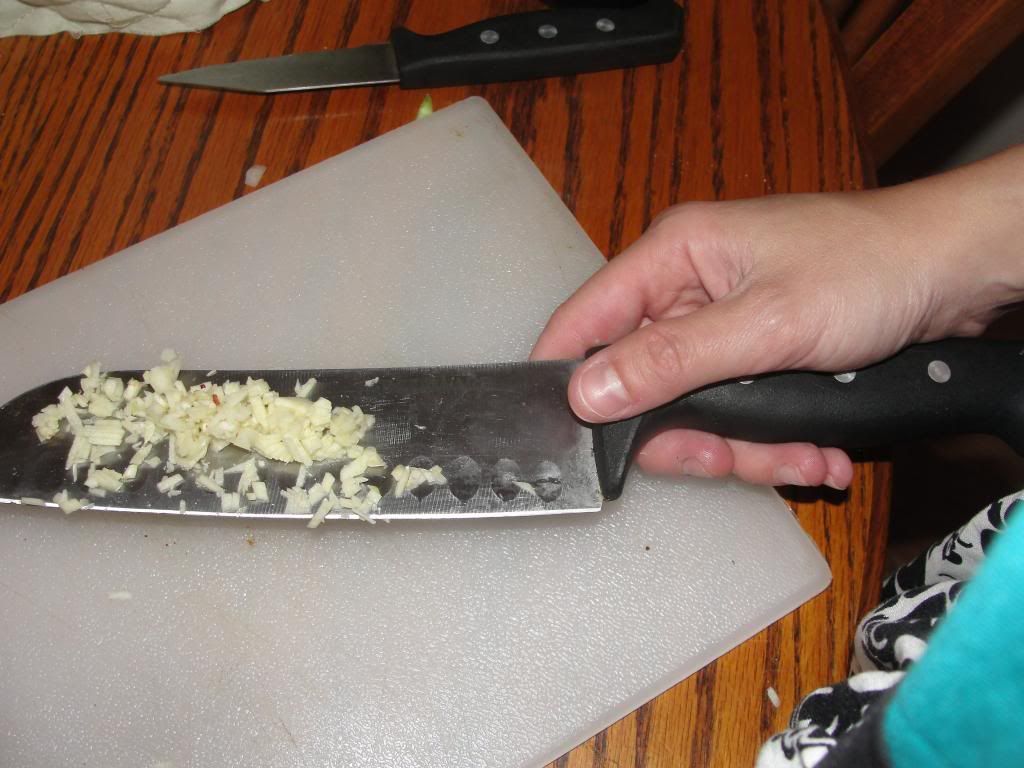
See?  Garlic.  Muy importante.  You need about 4 cloves total.  Don't skimp on the garlic.  And evidence I actually wear my apron.  Awesomeness!
I cut my hunk of meat London broil into approximate halves before slicing.  This is because I make two batches.  Do what works for you, okay?
 
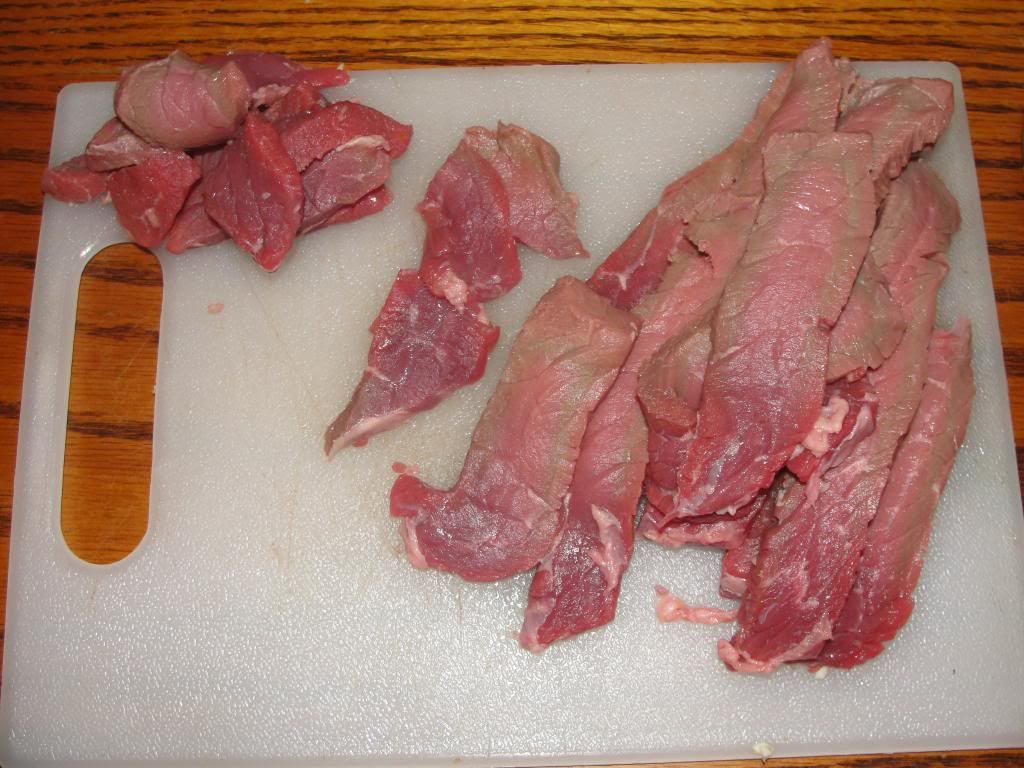
Slice the meat a bit thin.  The idea here is that the meat is thin enough to cook at the same speed as the onions and peppers.  You don't want it too thick or too thin.  Use your best judgement on this.  I think I slice my meat to 1/2" or so.  I also cut the longer strips of meat in half or thirds to keep some uniformity.

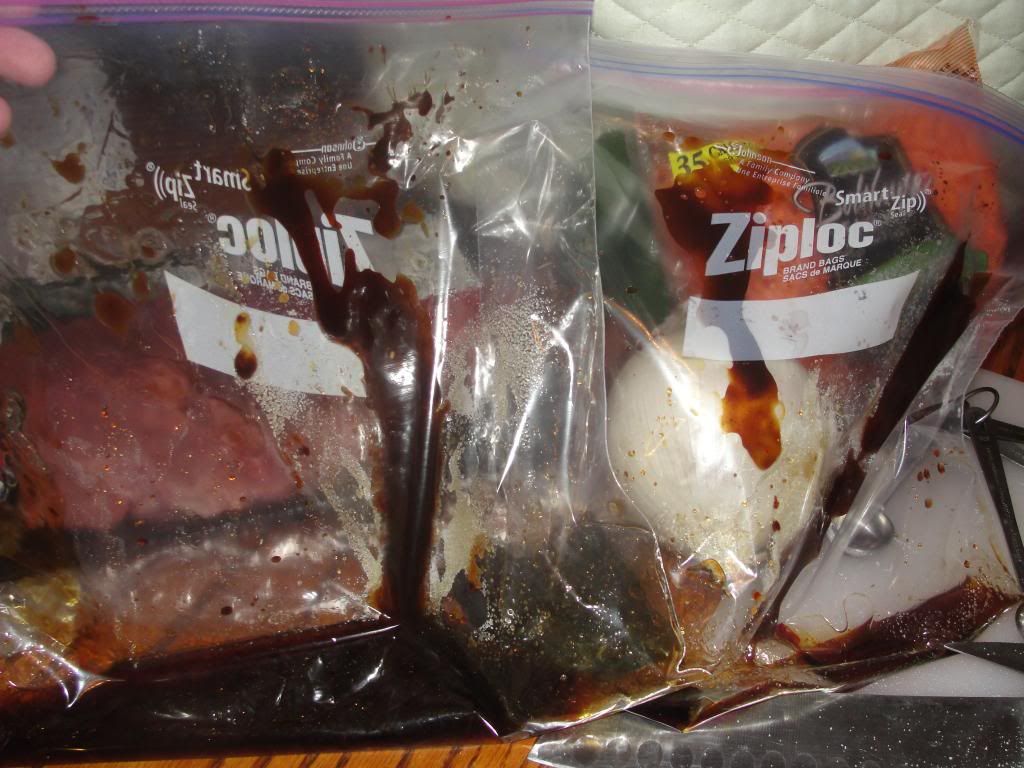
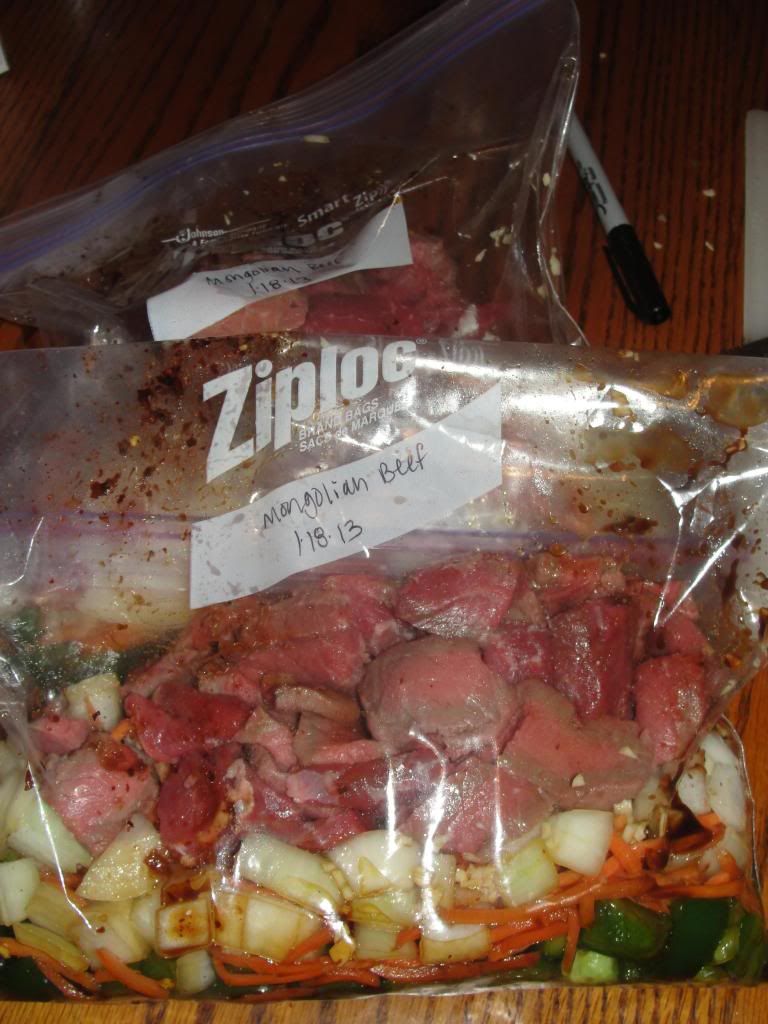
Throw the meat in the bag with the rest of the stuff, label and date it (as if it would last long enough to be questionable!), and give the bag a nice massage to mix the ingredients some.  Toss in freezer!
 
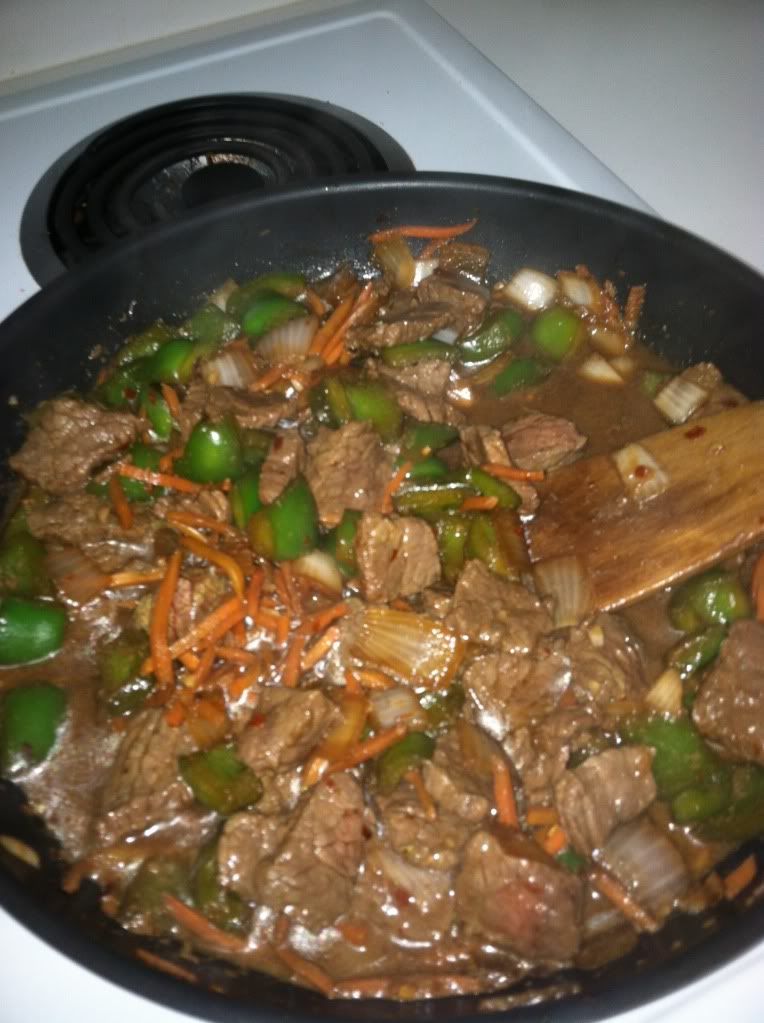
When you are ready to cook and serve this delicious meal, thaw everything out, dump the contents of the bag in a pan, and cook on medium for about 15-20 minutes.  Serve over brown rice, if that's your thing.

Mongolian Beef
Ingredients:
1.5 pounds London broil
2 bell peppers
1 medium white onion
3 cups matchstick carrots
4 cloves garlic
1/2 cup soy sauce
2 T hoisin sauce
2 T sesame oil
4 t sugar
1 t red pepper flakes

Prepping Instructions:
Chop peppers and onions and mince garlic.  Slice beef into thin strips suitable for quick cooking.  Add all the ingredients to a Ziploc bag and allow to marinate a minimum of 8 hours, longer for a more developed flavor.  Alternatively, put the freezer-safe bag in the freezer for later consumption.

Cooking Instructions:
Allow contents of bag to thaw before cooking.  Empty the contents of the bag into a pan.  Cook on medium heat while stirring occasionally.  Serve over brown rice, if desired.  Eat.  Enjoy.

Click here for the printer friendly version of this recipe.  If anyone knows a better way to make things printer-friendly, I would love to hear about it.  Link it to me, or send me an email ellelittleblogATgmailDOTcom  I'm currently using the google sites system and I'm not in love with it at all. 

Friday, January 25, 2013

Freezer Friday: Basil Pesto Chicken Stuffed Shells

I'm starting a new weekly series on my blog called Freezer Friday!  Every Friday, I will share a freezer-friendly recipe or related tip with you.  Sometimes it's hard to fit cooking a good meal into my already busy schedule.  I started freezer cooking about 18 months ago and it drastically changed my life.  I eat better, healthier, tastier food.  I spend less at the grocery store.  I rarely eat out.  Freezer cooking is just a perfect way for me to ensure I always have something (almost) ready-made to grab and enjoy.

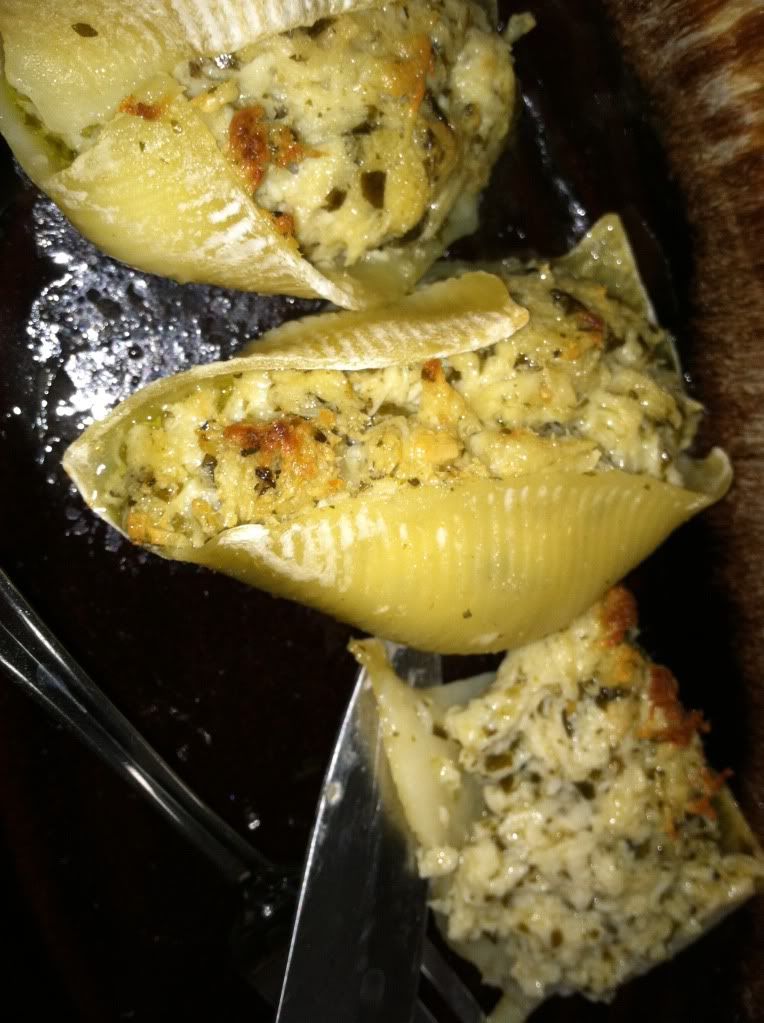
The first recipe I'm going to share with you is for these yummy basil pesto chicken stuffed shells.  I finally added a better photo.  It took me 10 months, but I did it!  The shells still taste just as good when I first made them.


I'm leaving the crappy iphone photo up.  It's kinda all over pinterest now.

Let's get cooking (or prepping really--since this is for the freezer)!  
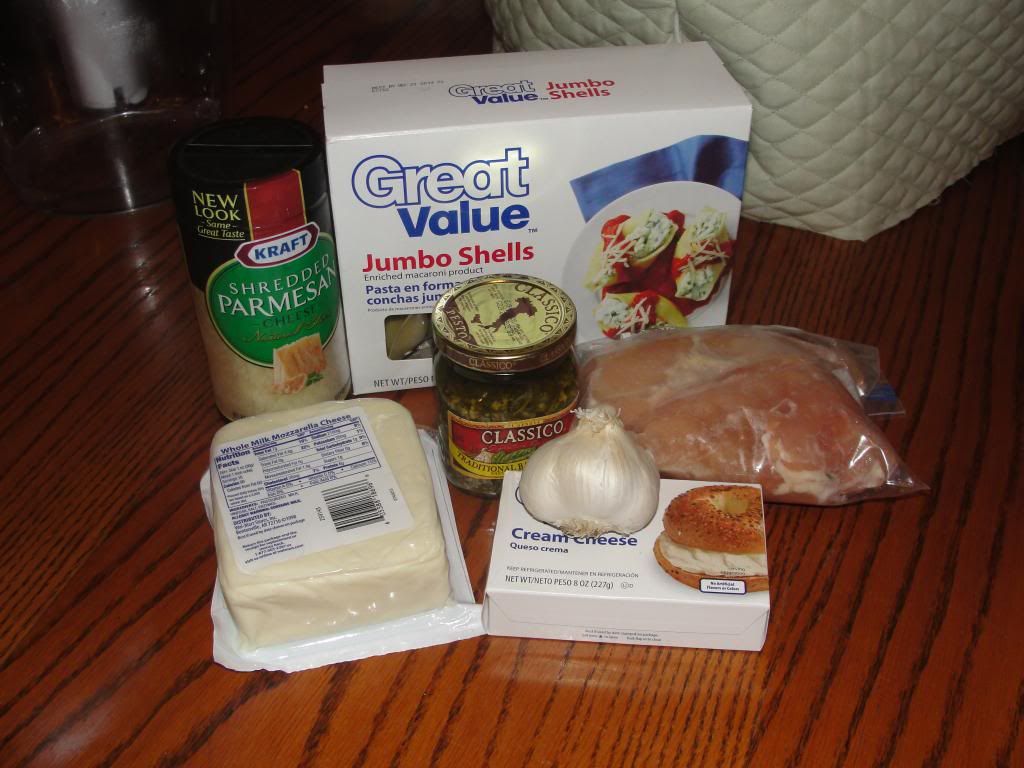
Cast of characters:  jumbo shells, Parmesan cheese, mozzarella cheese, basil pesto, boneless skinless chicken breasts, cream cheese, and garlic
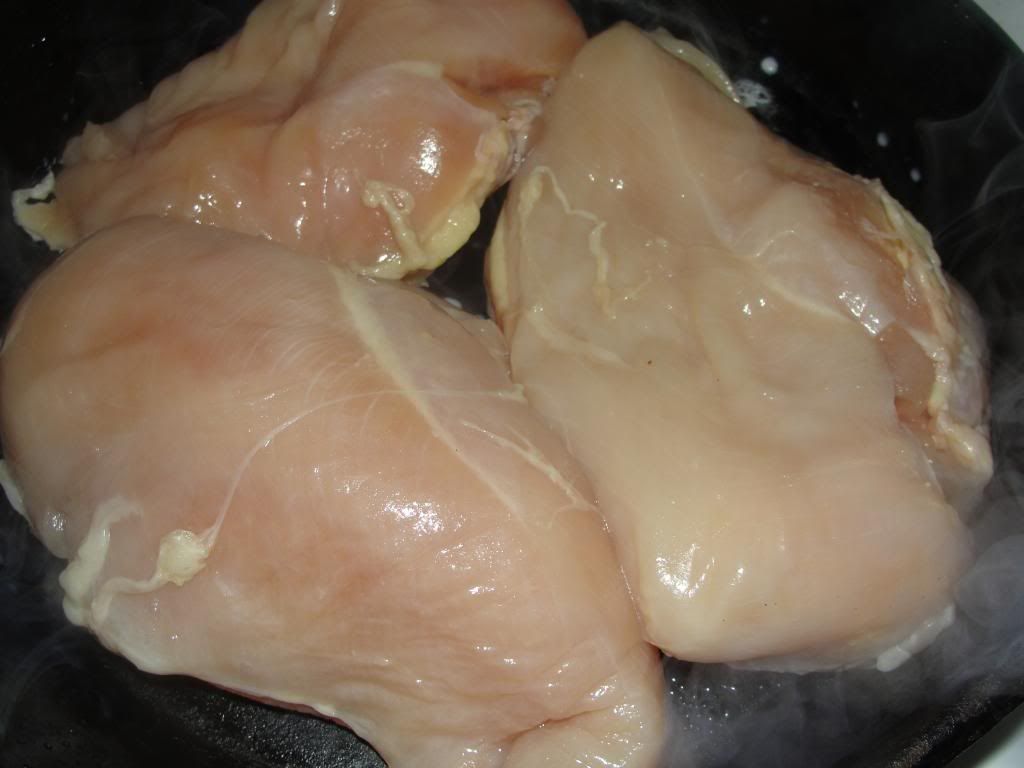
Three chicken breasts in the pan (that's about 1.5 pounds).  Cook 'em up.  I sort-of steam cook my chicken.  I use a cast iron pan, put the burner on low, and cover the pan with a lid.  It's okay if you don't fully cook the chicken because it gets cooked again later.  While you are by the stove, grab a pot and boil the shells.  I forgot to take a picture of that step.

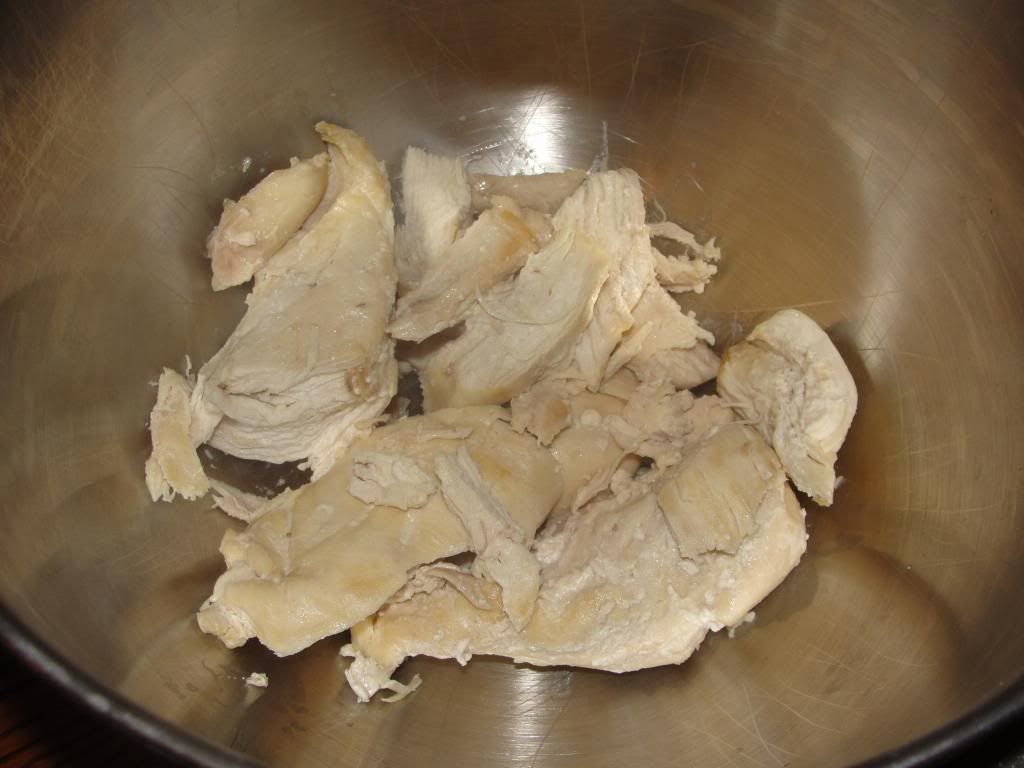
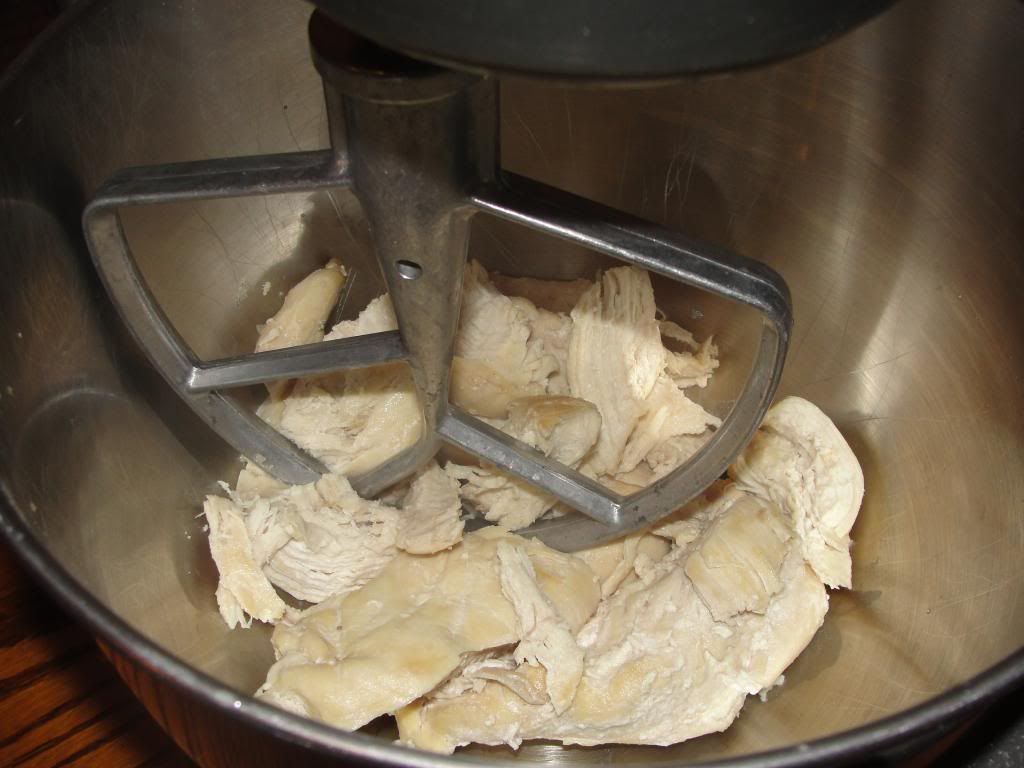
Put the cooked chicken in your stand mixer/food processor/whatever
Add the paddle
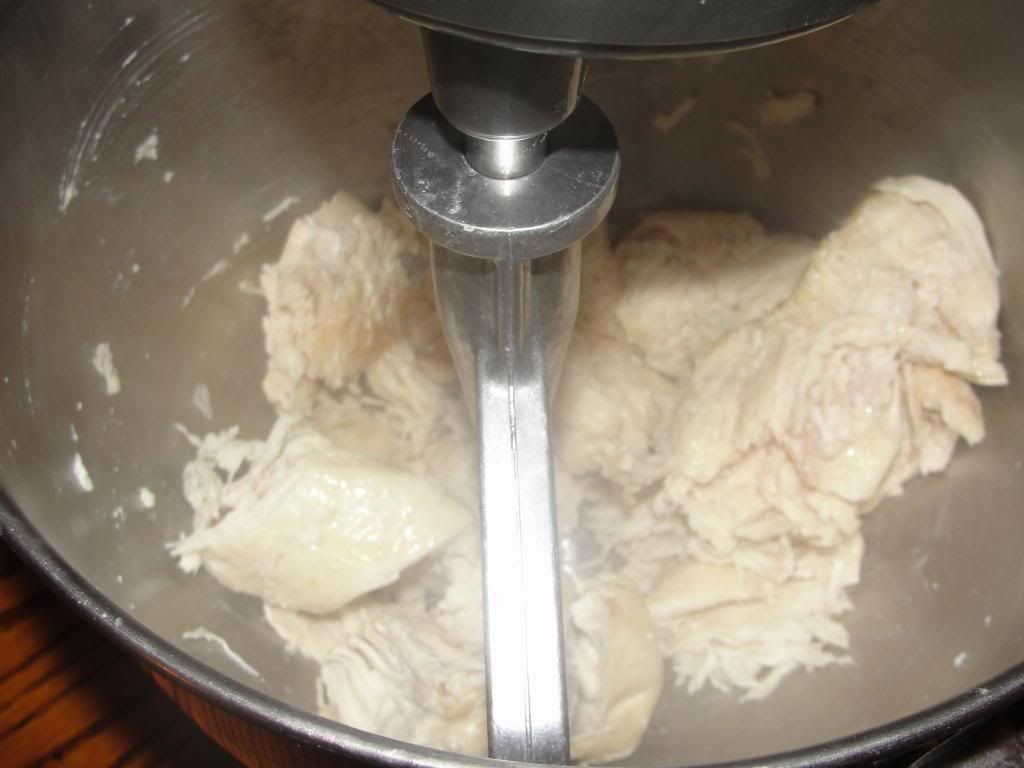
Start the mixer
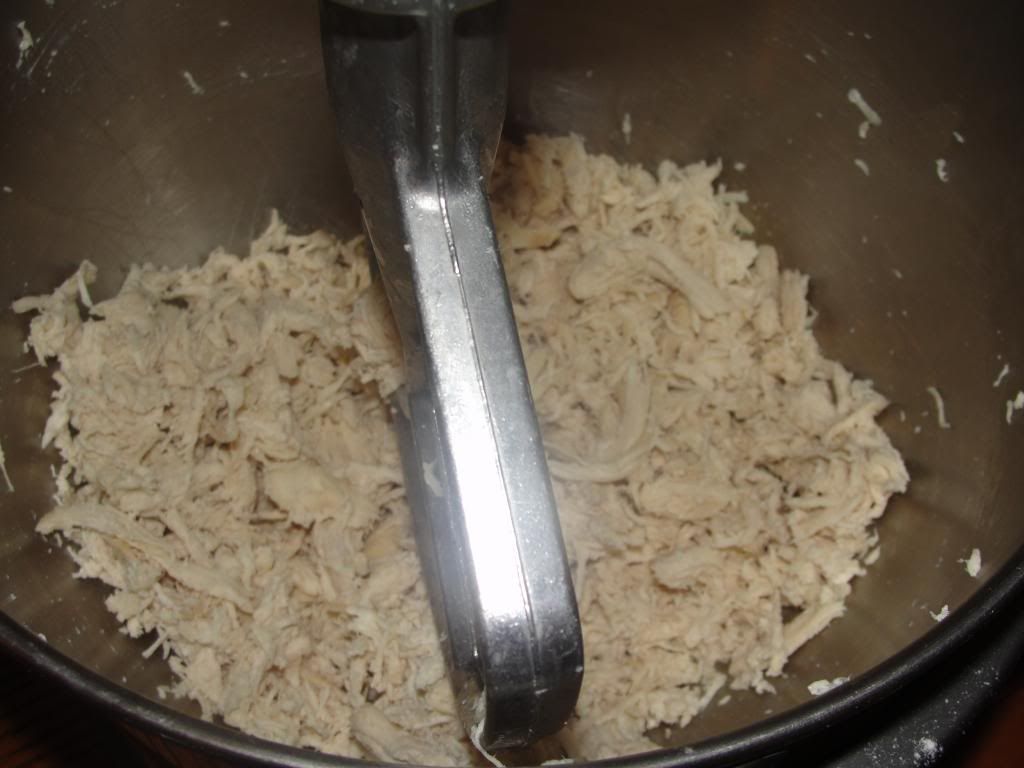
After a minute, you have shredded chicken!

While the chicken and pasta are cooking, shred the mozzarella cheese.  I always buy block cheese because it takes minutes to shred myself and it's cheaper.  I'm all about saving money where I can.  You also need to chop up the garlic--about three or four decent-sized cloves.  Don't forget the garlic. 
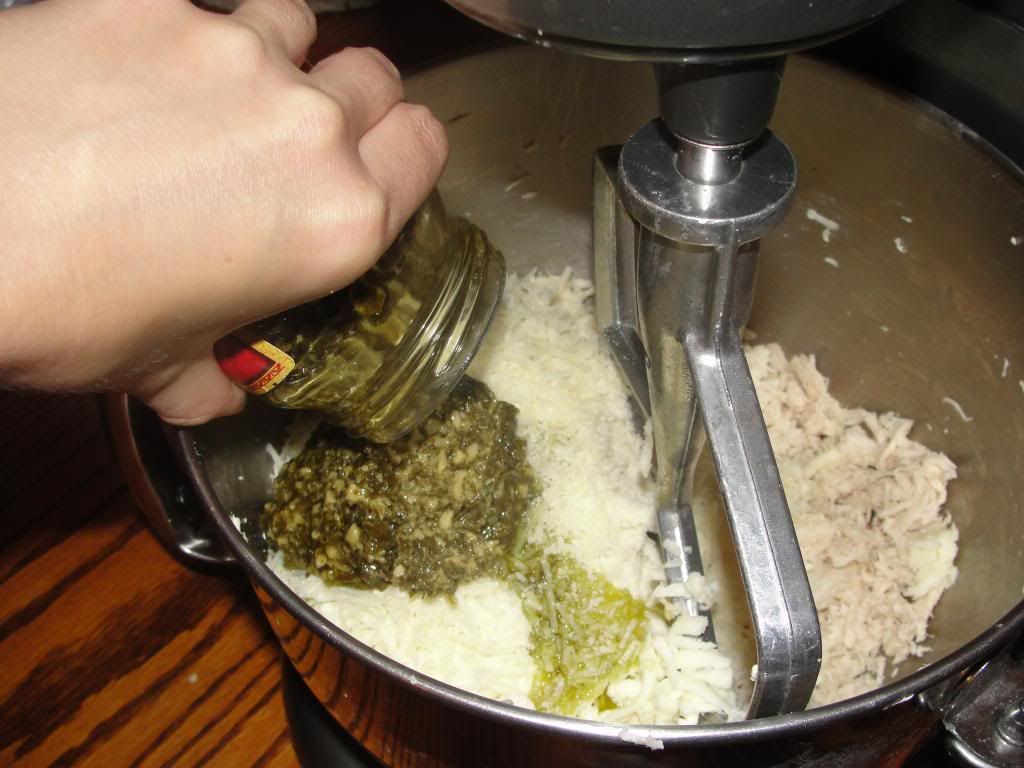
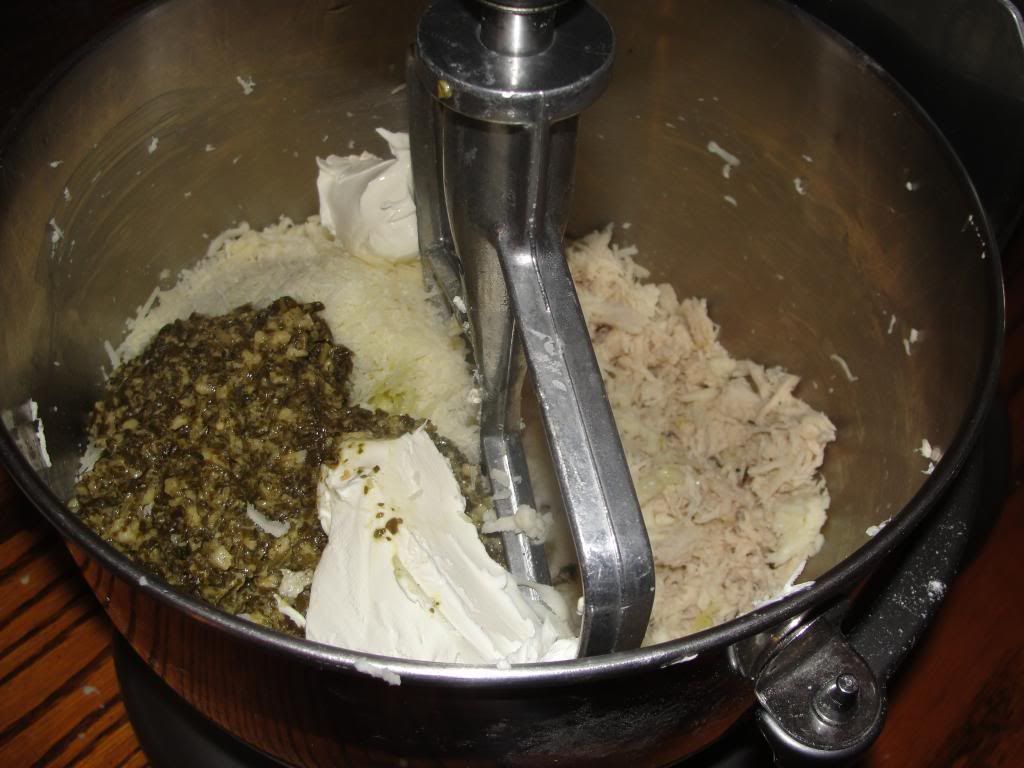
Add the mozzarella, Parmesan, garlic, and basil pesto
Add the cream cheese
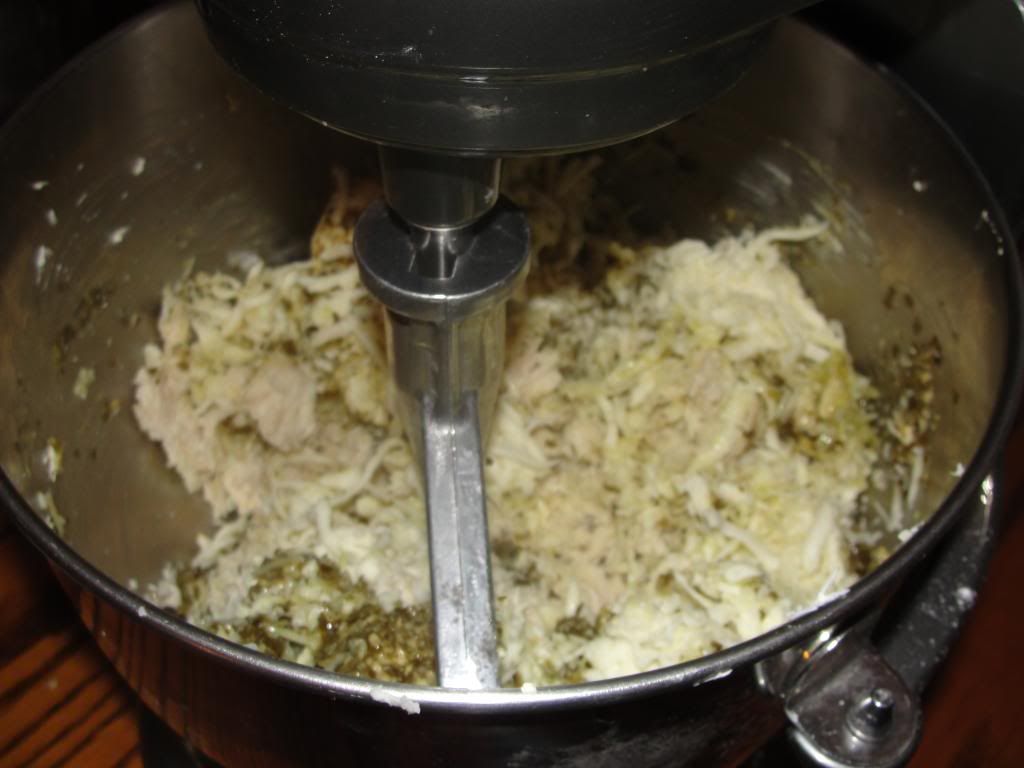
Mix everything together.  It will look funny and someone will probably walk past and say "Eeww, gross!"  Just trust me on the deliciousness.
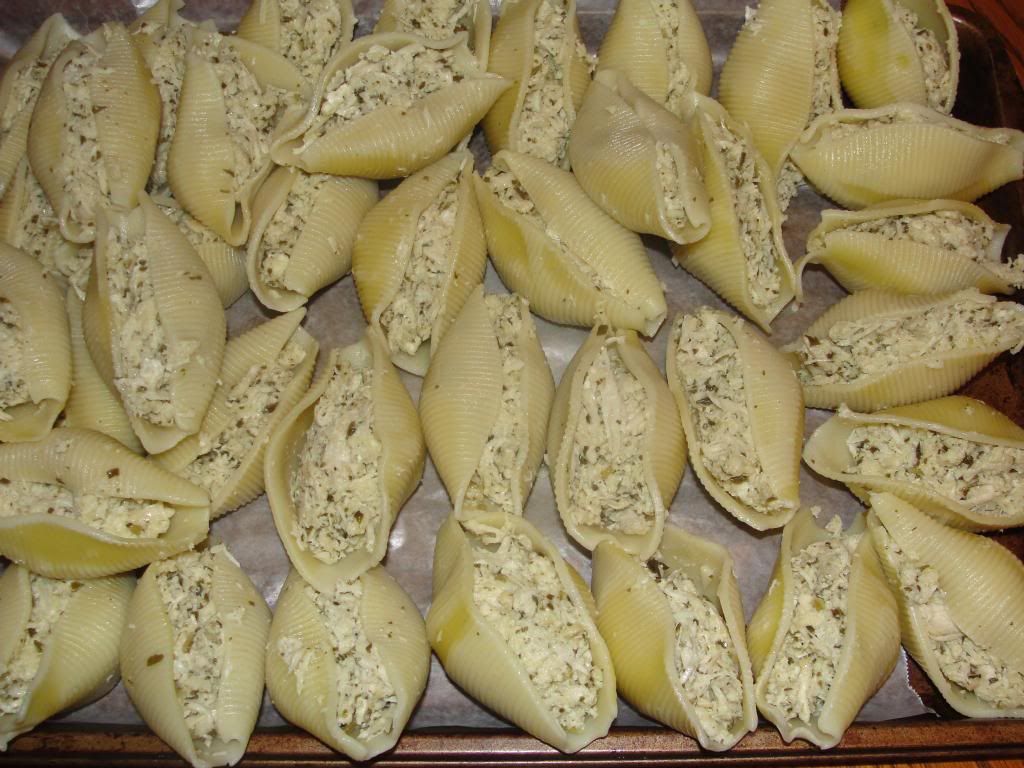
After all the ingredients are thoroughly incorporated, grab the shells (again I forgot to take pictures!) you cooked and drained and use a spoon to fill them with the mixture.  If you follow my recipe, you will have exactly enough to fill all the shells.  I generally have 42 shells total in the one pound box.
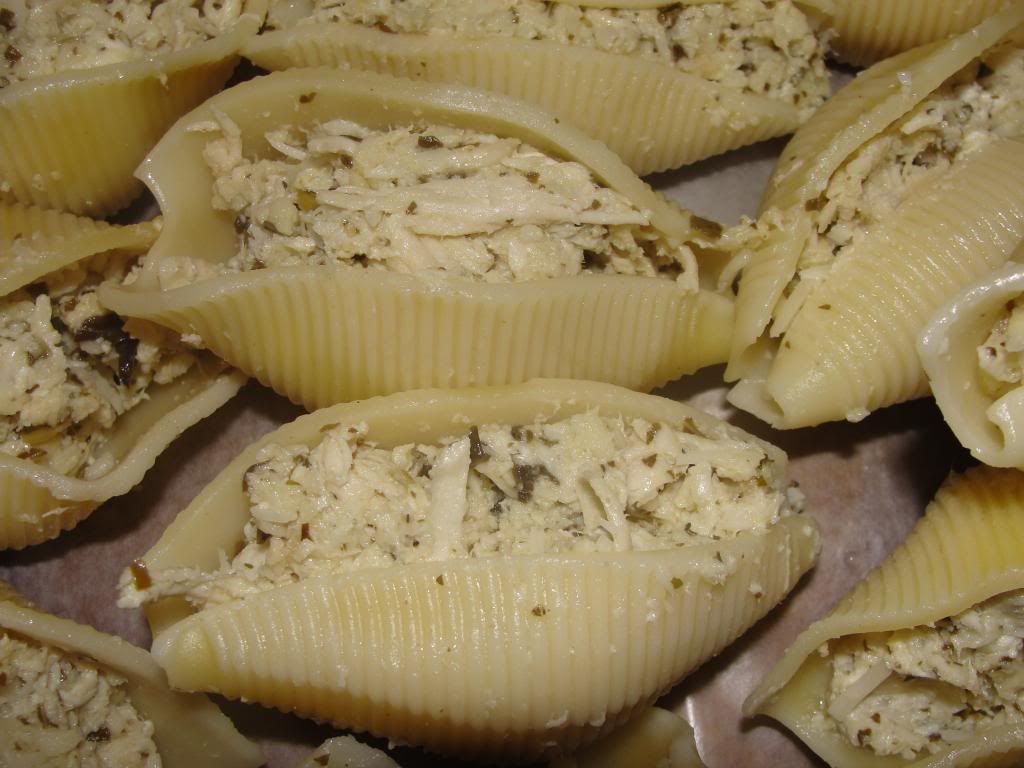
Close-up!  So much noms all in one place!


The innards spilled out of this one when I lifted it from the baking dish.  Oops.

Cheesy olive-oily basily goodness.
Remember that tip I gave you for the cookies from over here?  Use that same flash-freezing method if you are going to be freezing these shells for future consumption.  After the shells have some cool-down time in the freezer, you put them in a freezer bag, write the date and contents on the white space, and put the bag back in the freezer.  Easier than pie, right?  When you are ready to cook the shells, preheat your oven to 350° and bake uncovered for about 30 minutes from frozen.  I typically only bake 3-4 shells at a time for myself at work, so I really can't speak for the amount of time it would take to bake the entire recipe from frozen.  I would guess just cook the shells at 375° for 30-45 minutes and that would be fine.  

**Lots of people on the internet have commented that the shells become hard during baking.  I've never had that happen unless I've completely forgotten about my food in the oven and overcooked it, but I do want to address the issue.  You could cover the baking dish with foil to keep the moisture in, cover the shells with loads of cheese before baking, or even add some milk to the baking dish to up the moisture content.  Also, keep your eye on the oven.  You may not need to cook it for the full 30 minutes--15 to 20 minutes may be fine for you and your oven.**

I hope lots of people enjoy this series and the recipe.  I promise it's delicious.  I'm one of those people who believe life is too short to eat food that doesn't taste good.  Leave me a comment and let me know what you thought of the recipe!  Have a great weekend!

For a printable version of this recipe, click here.  (recipe will open in a new window)

Basil Pesto Chicken Stuffed Shells

Ingredients:
1.5 pounds boneless, skinless chicken breasts (about three whole breasts)
1 one pound box jumbo shells
1 pound mozzarella cheese, shredded
1 cup Parmesan cheese
4 oz cream cheese
1 8oz jar basil pesto (or one cup if you choose to make your own sauce)
3-4 cloves garlic, minced

Cooking Instructions:
Boil the pasta shells according to package directions.  Drain and allow to cool for safe handling later.  Cook the chicken breasts until no pink remains and shred the meat in a stand mixer or similar kitchen appliance.  Add the rest of the ingredients and mix to thoroughly incorporate all the ingredients.  Spoon the chicken and cheese mixture into each shell.  Arrange the filled shells in a baking dish and top with additional mozzarella cheese, if desired.  Bake at 350° for 30 minutes, or until the cheese is melted. 

For the freezer:  once the shells are filled, place the shells on a baking sheet covered with wax paper and flash freeze.  Once frozen, put the shells in a freezer bag.  From frozen, bake at 375° for 30 minutes.  (As mentioned in the post, I only bake 3-4 shells at a time from frozen and at 350° for 30 minutes.  The cooking time for the full recipe is estimated based on past experiences.)