Tuesday, February 26, 2013

Free Craftsy Course!

If you ever wanted to take a Craftsy course and just couldn't afford it or life got in the way, here's your opportunity to take one for free!  FREE!!!  Just click or type http://www.craftsy.com/classes to take you to all the classes!  It says "Free" instead of giving a price.  (Obviously if it doesn't say free, the offer expired or you already signed up for your one free class.)


The couture dress class has so much great information for fitting and adjusting your pattern pieces.

I enrolled in the Jean-ius class several months ago and I listened to most of the lessons.  There is lots of prep work involved in this project, but that is all to ensure you get the perfect finished item.  I'm getting sized out of the market and haven't bought new jeans in many years.  I needed this class.

I decided to enroll in Shoot It! for my free class.  It's normally $49.99, so I thought it was quite the bargain.  I should be able to listen and watch and put the lessons right into practice.

Go get a free class!  Have a great week,
~elle

Monday, February 25, 2013

Sewing biweekly update: blue silk dress

I didn't reach my goal of getting eight items listed in my etsy shop.  I'm trying to finesse the patterns I'm going to use and that just takes so much time getting the prototypes together and then making up the inventory items.  So much work!  My lineup so far includes a cute fabric purse, those ditty bags I posted last week (in 3-4 sizes), and a basket tote.

My blue silk dress is in time out right now.  The bust dart ended up in the wrong place on my boob when I made the shoulder adjustment.  Lame!  The dress is over in the corner thinking about what it's done.  I'm going to draft a muslin of just this piece and recut the left front bodice piece if I can't make the changes on the one I've already cut. 


I really need to get something finished soon.  I hate the weeks when it seems like you work and work and work on a project and don't have anything to show for your efforts.

Have a great week everyone!
~elle

Friday, February 22, 2013

Freezer Friday: Breakfast Edition

The beauty of freezer cooking is you don't have to do it a lot.  This is even more true when you are just cooking for one.  That said, I don't have any new recipes to share with you right now because I haven't needed to make any more food! One thing that I don't keep much of in the freezer is breakfast foods.  I don't eat breakfast at home and it's easier for me to just grab a banana and a yogurt and call that breakfast.  It's just my thing.  I recognize that some people have families that get pretty upset if they don't get all their daily meals and I put together a list of some pretty great recipes just for breakfast.


Breakfast BurritosYou can add whatever you want to these and have something like an omelet to go.  Perfect!
Sausage Biscuits:  Make your favorite biscuit recipe or buy the ones in the can at the store, bake those, cut each biscuit in half.  In the meantime, cook breakfast sausage patties until desired doneness.  Put one sausage patty between each biscuit and wrap with foil before putting in the freezer.  When you want to eat, 30 seconds in the microwave at 30% power and they are perfect!  It's really that easy.   
Baked Oatmeal:  This is one I have made many many times.  I love oatmeal.  This recipe is super simple.  The hardest part is probably getting all the oatmeal bits in the freezer bag when it's done baking.
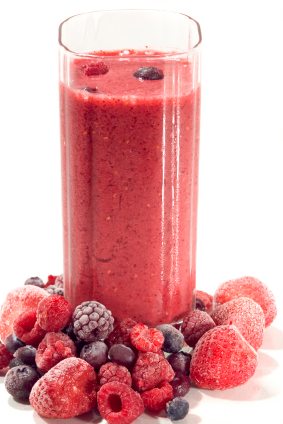
Smoothies:  Are you a morning smoothie person?  Here's a super simple solution to the mad rush in the morningmix your favorite smoothie recipes up ahead of time.  Pour the individual serving amount into a freezer bag.  Freeze flat.  Pull your pre-mixed smoothie out in the morning and leave it out to thaw for a bit.  Jump in the shower, get the kids up and dressed, and after a half hour or so, put the bag's contents in the blender and mix it up again.  You save precious time in the morning by cutting and mixing up everything ahead of time.  It's worth it!
Have a fantastic weekend everyone!  I know I will!
~elle

Wednesday, February 20, 2013

Meanwhile in Florida. . .

It's crazy hearing about all the snow that is falling in different parts of the country.  I was heading into work after church on Super Bowl sunday (February 3rd) and it was just such a beautiful day.  I was compelled to pull over to walk along the beach and take some photos.  I can't really say for sure, but I'm sure this is why people move to Florida. :)


I hope everyone enjoys making their snowmen and sandcastles, whichever you have the pleasure of making!
Have a great week!
~elle

Friday, February 15, 2013

Freezer Friday: Planning

People ask all the time if freezer cooking is really worth it.  I know it is and here's why:

  1. You only have to clean the kitchen once a month.  My kitchen is destroyed on the day I do most of my cooking, but I clean it after and it stays relatively mess-free the rest of the month.
  2. You always have a meal to take to someone in need or extra food when unexpected guests arrive.
  3. You don't have to dread coming home and having to cook.  Just pull something out that thaws quickly or doesn't need to be thawed and get dinner ready for yourself or your family.  I've already posted several of my favorite recipes:  basil pesto chicken stuffed shells (just add some bread and a salad and you have a full meal), mongolian beef stir-fry (add some rice, your veggies are already in there), and pizza dough (if it's already topped, you only have to preheat the oven and you're done!)
  4. I always have fresh baked cookies.  Enough said.
  5. It saves you money.  You can watch the sales and buy things when they go on sale.  You can plan several meals that involve the same basic ingredients--if you get a great deal on chicken, prepare your chicken four different ways and toss it in the freezer for later.  You only need half an onion for a recipe?  Chop all of it and put the other half in the freezer.  Less chopping you have to do next time.  If you are making lasagna, go ahead and make two pans--one for now and one for later.  It is marginally more work to make double of something and you get twice the benefit.  Actually, that is a great way to start freezer cooking if you are on the fence about it.  Whatever you are having for dinner tonight, double it and save the rest.
Here are some helpful links if you just aren't convinced yet:
What if I don't like casseroles?
How do I get started?
Freezer cooking basics
What can I freeze?

And here are some great pdfs:
Menu Planner Pack
Freezer Planner Pack

Do you think freezer cooking is worth it?  Leave me a comment and let me know!

Have a great weekend!
~elle

Monday, February 11, 2013

elle Little Shop!

I decided to open an etsy shop!  This was a hard decision for me to make.  It's that marble that's been rolling around in my head for years.  I just decided now was the time--the exact moment I'm slammed at my regular work and don't have much free time for anything.

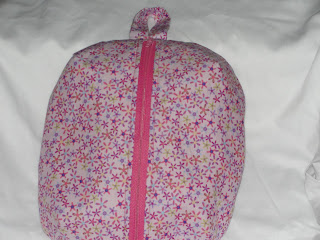
I am working on the prototypes, if you will, of what I will be selling in the shop.  So far I have two sizes of these zip-up ditty bags.  They really hold everything--makeup, camera, phone, a change of clothes (but not jeans, lol), wallet, etc.  I also have thoughts of making divided baskets, grocery bags, carry-all totes, clutches, and wallets.  

I need to turn all this fabric (and much more) into stuff!  Picspam to follow:
 
The pink one is the larger size.  I just stuffed it with 12 fat quarters to give you an idea of the amount of room.  It is also roomy enough for 100g of yarn, though zippers + yarn = danger zone.  I'll work on something for the yarns that won't threaten your wollmeise.

The smaller brown one only holds 50g of yarn comfortably, though this one seems much less threatening to the yarn.  The larger one might need to be made a bit taller so it can be more of a true knitting project bag.  What do you think?  If I made the handle bigger to fit around the wrist, it could be a more portable project bag.  One could just pull the project out and leave the zipper open slightly and walk and talk and knit.  Hmmm.  Thinking out loud.

What do you look for in a project bag/stuff sack/tote bag/wallet/wristlet?  Please let me know! 

My goal is to get 8 bags listed on etsy by my birthday--February 21. 

Have a great week!
~elle

Friday, February 8, 2013

Freezer Friday: Pizza

Who doesn't love pizza?  This is another "I'm too tired to even think about what to eat tonight" recipes.  You can prepare just the dough and top the pizza the night of baking or prepare the entire pizza and freeze that.  It's your choice.  I'm going to share my dough recipe, which will make 4 medium-sized pizza crusts or 8-10 personal-sized pizza crusts.  I normally keep personal pizzas at work for a quick lunch.  It helps me save some money by not eating out for lunch!  Speaking of saving money, I did the math on the pizza and each personal-sized one costs me $0.75 for just cheese and $1.00 if I top it with loads of pepperoni.  You can't deny that kind of awesome!

Let's get started:  

Cast of Characters:  yeast, warm water, garlic powder, olive oil, flour, kosher salt, sugar, Italian herb seasoning (I use Durkee Grill Creations even though pizza dough is not the intended use)
Mix warm water, yeast, and sugar together.  I know my yeast is good, so I don't proof it.  Add in the olive oil.
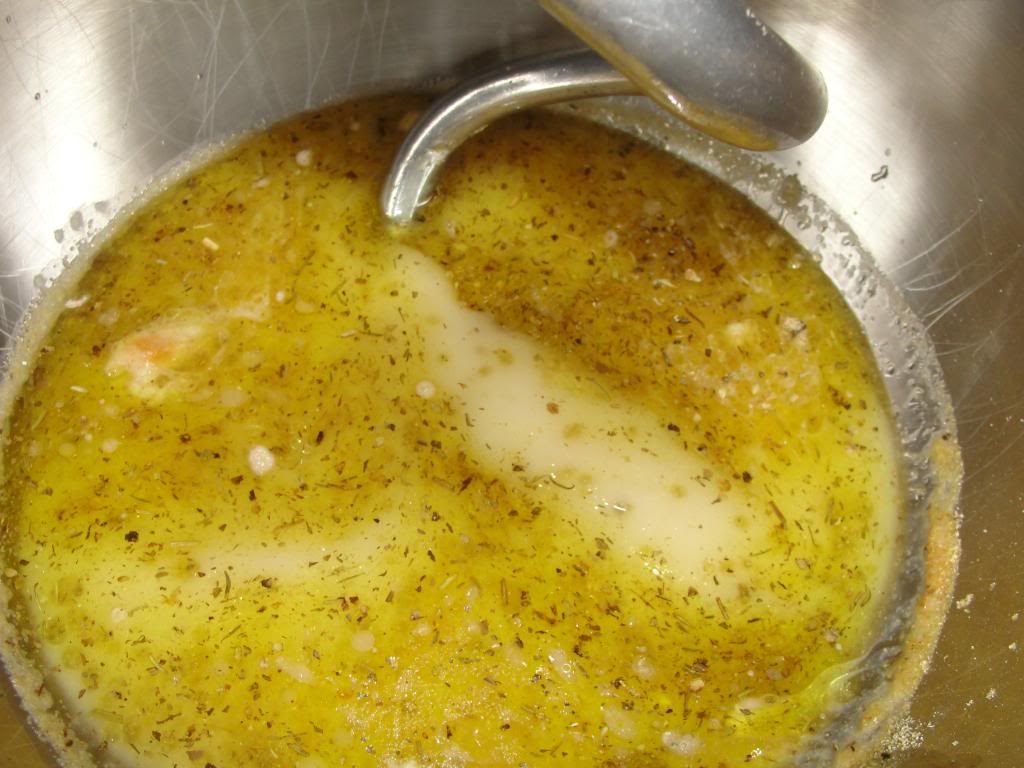
Add salt, garlic, and Italian herb seasoning and mix everything together
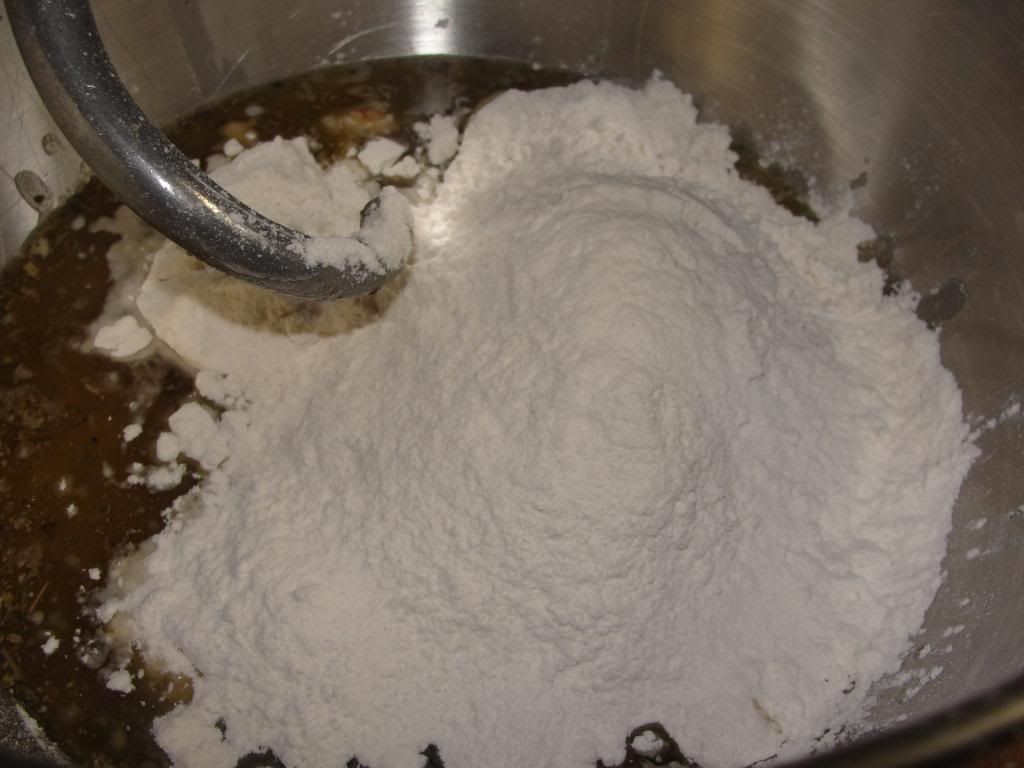
Add the flour
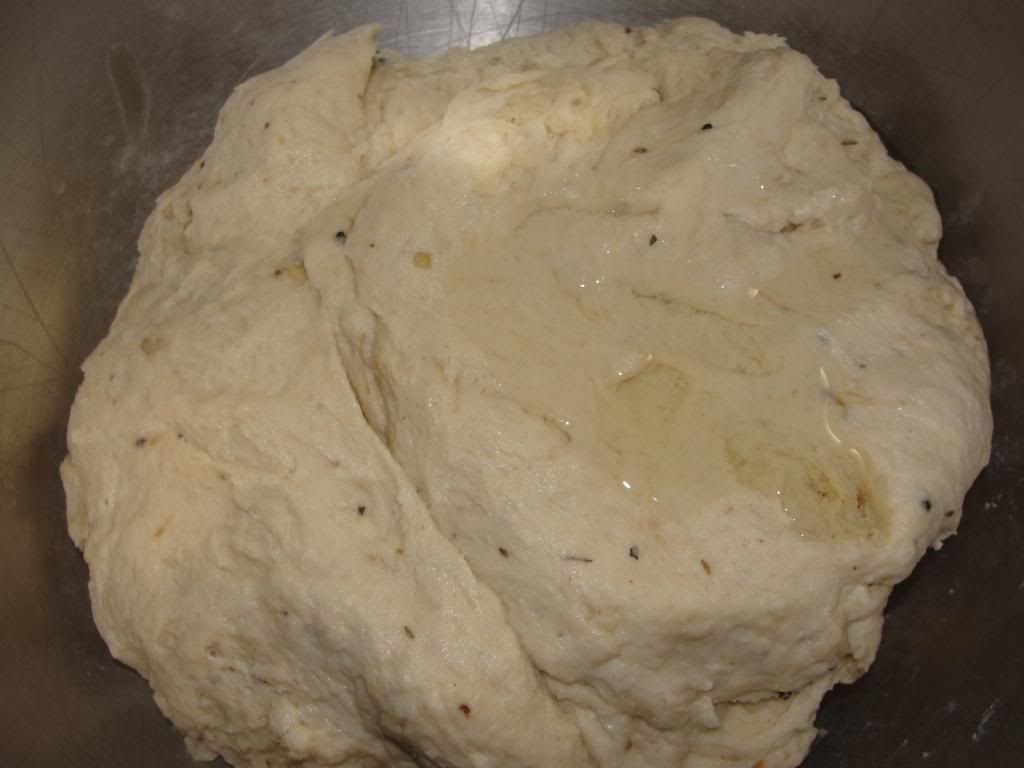
Mix, mix, mix!  Magic dough ball!  Once everything is thoroughly incorporated, leave the dough to rise.  This picture shows olive oil on top.  I do this to keep the dough from drying out and/or sticking to the bowl as it rises.  There's also some olive oil on the bottom of the bowl.
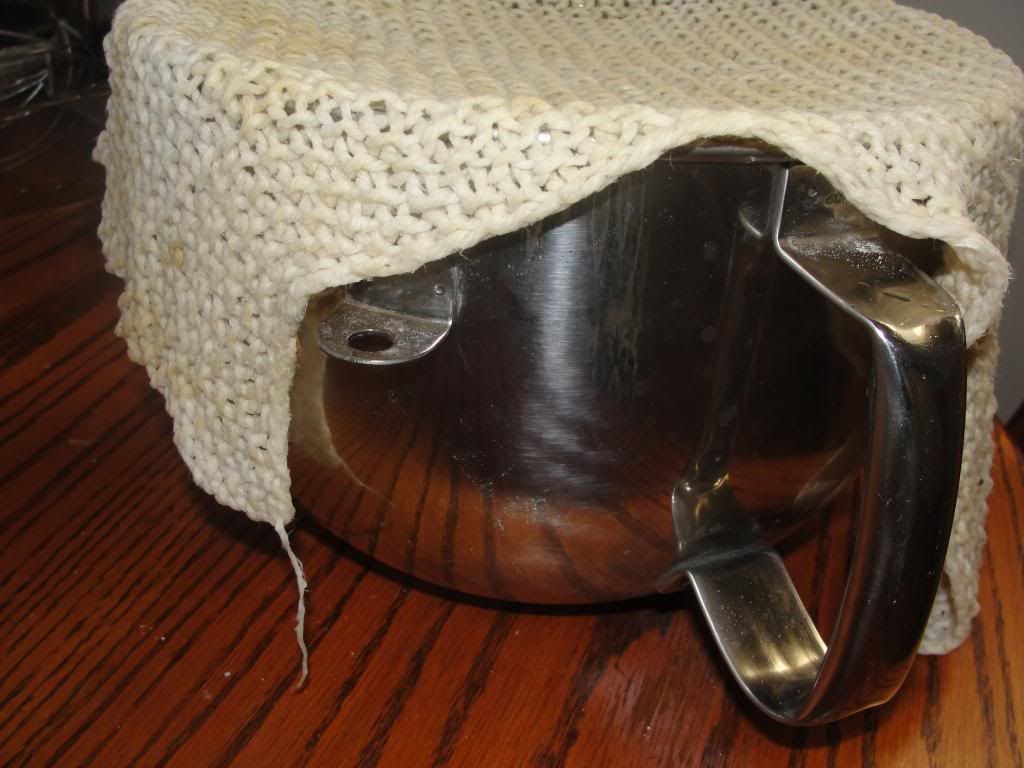
Put a damp towel over the top of the bowl and let dough rise for a while.  I typically let my dough rise for 3-4 hours.  Mostly because I do other things and forget about it. It's fine.  You don't have to burp this dough.  It's more like a no-knead dough.
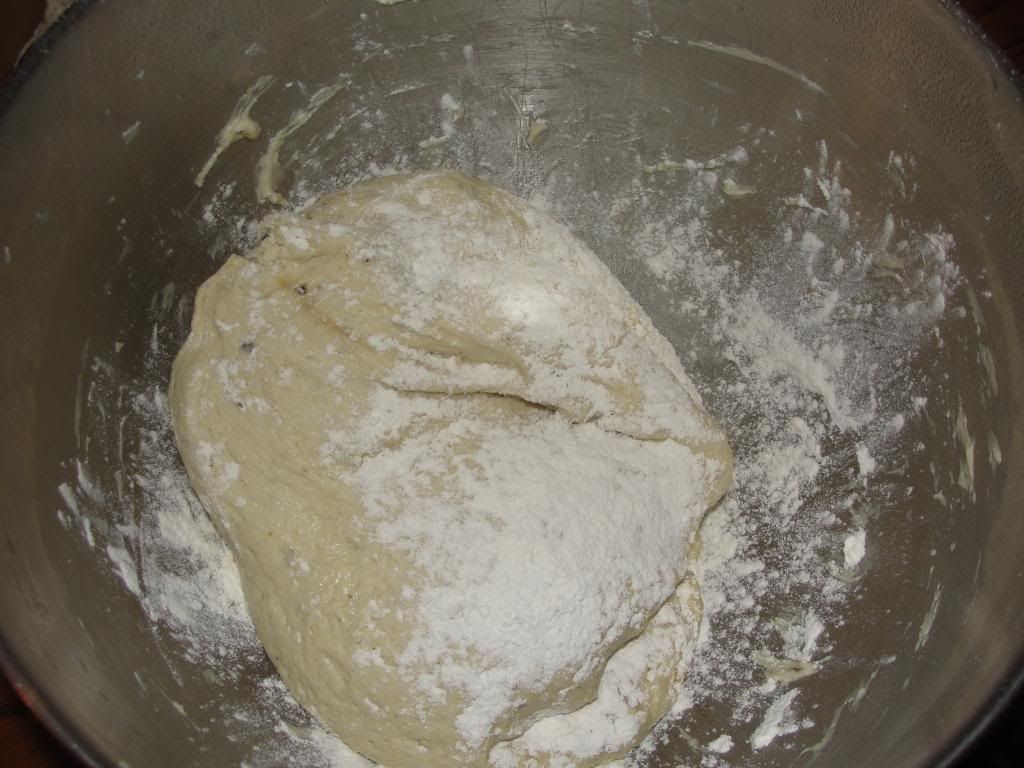
Punch the dough back down and make it into a ball again.  I'm getting ready to shape it into pizza crusts, so I sprinkled flour on top to make it easier to pull dough balls from it.
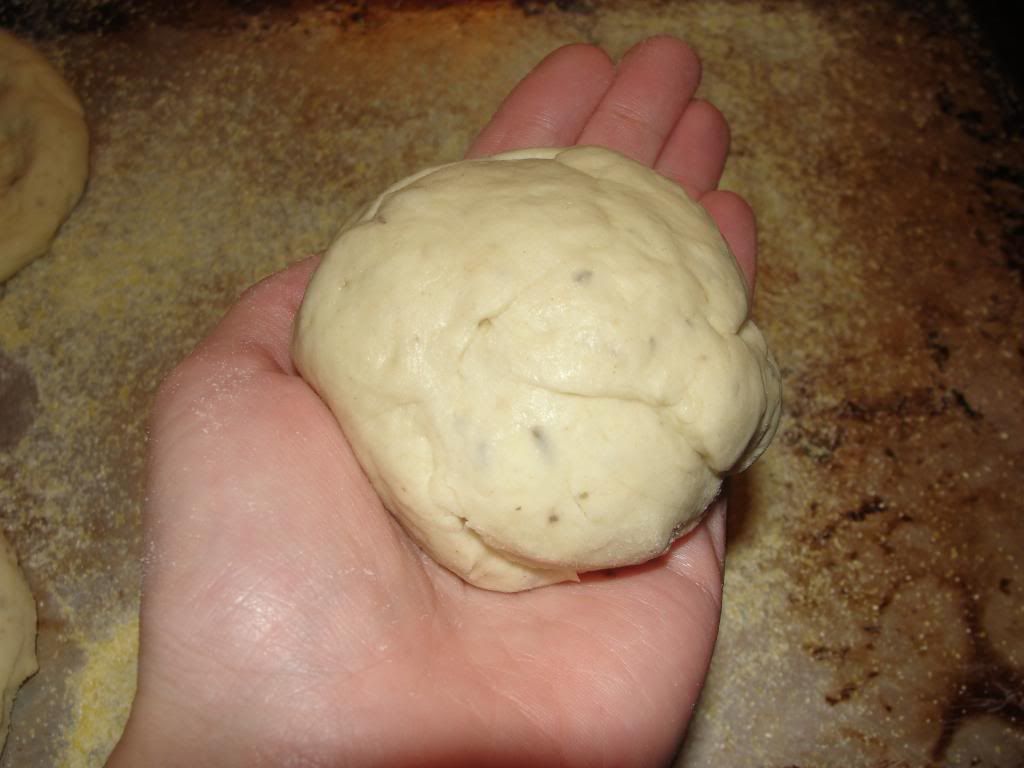
I'm making rather small crusts.  For this, I pull dough balls about the size of a baseball.
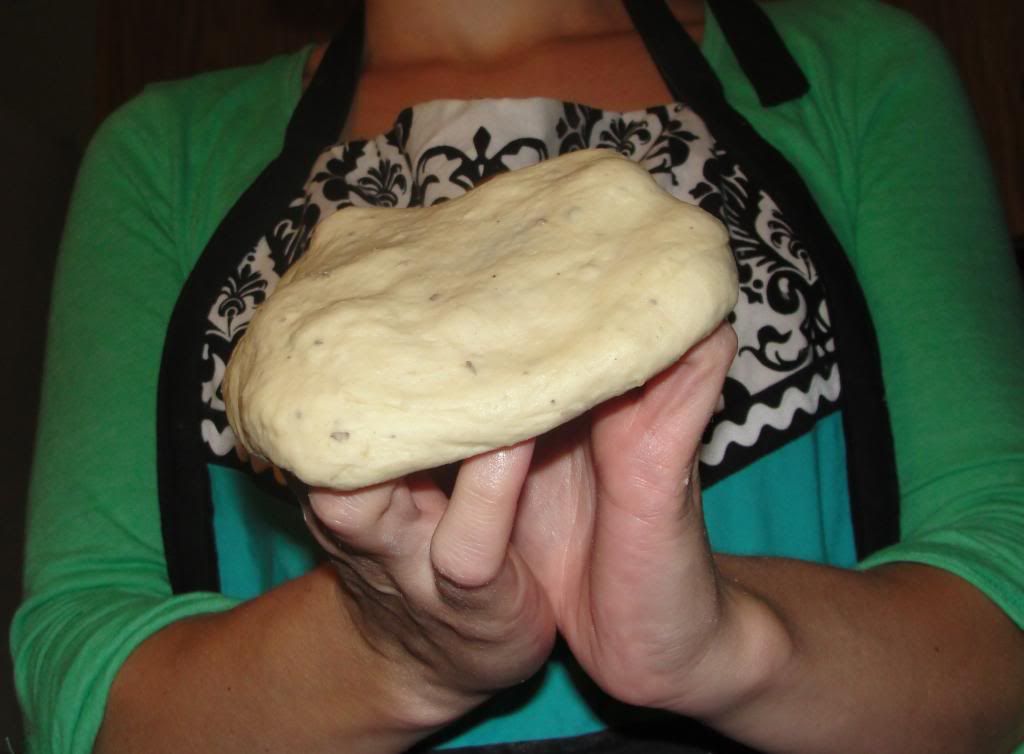
Me in action!  Push an indentation in the middle of the dough ball and start working the dough into a larger, thinner crust.  This crust-making does take some practice, so don't get discouraged if it doesn't just happen for you.
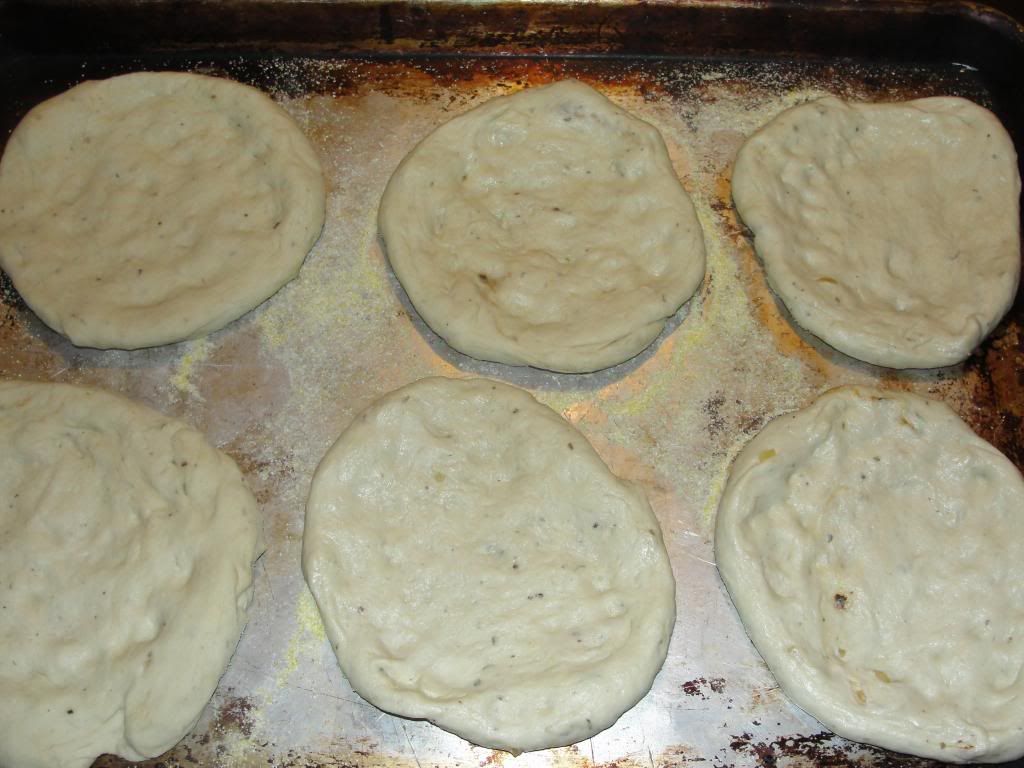
Even I make some wonky-looking crusts.  I'm okay with this.  Press some indentations into the center of the crusts with your fingers.  You don't want the middle of the crust to rise to the same level as the actual crust when it is parbaked later.  Trust the skills!  Here's where I apparently forgot to take pictures:  Sprinkle cornmeal on the baking sheet before you put the dough down to keep the crusts from sticking to the baking sheet.  I also like the crunchy bottom on my pizza.  To parbake, preheat your oven to 500°.  You are going to parbake the crusts for 3 minutes.  Allow the crusts to cool for a bit.  At this point, you can either flash freeze the crusts and put them in a freezer bag or wrap with foil (depending on size) or continue topping the pizzas before flash freezing and storing in the same method.  I'm going to top my pizzas now.
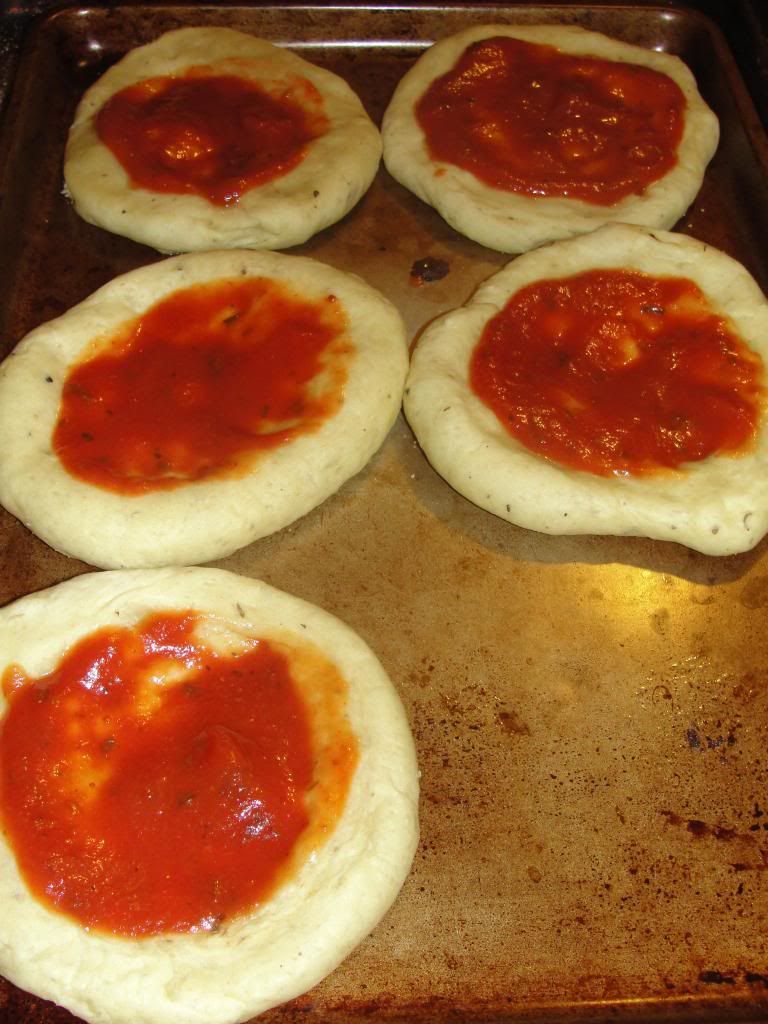
Ooh!  Sauce!  (This is the awkward moment where I realize I deleted all my other pictures thinking they were already uploaded to photobucket.  Oops.)  So put a little sauce on each crust to your liking.  Top with cheese.  I find that the toppings slide right off in a freezer bag.  If you want to do something crazy like BBQ buffalo chicken pizza, it's probably best to put those toppings in a separate freezer bag and just keep it with the crusts.  Or--top however you want and wrap the pizzas in foil. That works too.
Freezer-Friendly Pizza Dough


(makes 4 medium pizza crusts or 8-10 personal pizza crusts)
Ingredients:
2 packages yeast (or the equivalent in teaspoons from a bulk jar)
2t sugar
2c warm water
1/2c olive oil + more to coat bowl
2t salt
2-3T garlic powder depending on how much you like garlic
1.5T Italian herb seasoning
5c all-purpose flour

Preparation Instructions:
Preheat oven to 500°.  Mix yeast, sugar, warm water, olive oil, salt, garlic powder, and Italian herb seasoning together in a big bowl.  You need at least a 5-qt bowl I would say.  Add the flour and mix dough to combine everything thoroughly.  Pick up the dough and put a bit of olive oil on the bottom of the bowl.  Drop the dough back in the bowl and pour a bit more olive oil on top.  Place a damp kitchen towel over the top of the bowl and allow the dough to rise until it has doubled in size.  Punch the dough back down and reform it into a ball.  Sprinkle flour over the top of the dough.  If you want to make medium-sized pizza crusts, score the dough equally in quarters and roll it out to your desired thickness.  For personal-sized pizzas, pull baseball to softball-sized portions of dough and work each into a crust by hand.  Begin by putting an indentation in the center of the ball and slowly working the dough thinner from the center out.  Place each crust onto a baking sheet sprinkled with cornmeal.  Parbake the crusts for 3 minutes.  Allow the crusts to cool before flash freezing and storing or continue on to top the crusts as desired.

Baking Instructions:
Preheat oven to 500°.  Bake pizza 15-20 minutes from frozen.

Here's the printable version of this recipe (opens in a new window).

Enjoy!
~elle

Sunday, February 3, 2013

Bacon Cheese Twisty Things


My mom loved to throw parties when I was a child.  I remember her making these and some chicken/bacon pinwheels that were really good (I wish I could remember what was involved with making those).  I got to help out with these and they are super-simple to make.  The preparation process takes maybe 15 minutes and then you just toss them into the oven to bake low and slow.  These are delicious and almost effortless.  Even better, if you still need to come up with something to bring to your Superbowl party tonight, you still have time to make these!  Here's how:
Cast of characters:  Bacon, Parmesan cheese, and club crackers (Seriously, that's it!)
Cut the slabs of bacon in half.  I need lots of twisty things, so I'm using two pounds of bacon.
Arrange the club crackers on a cooling rack on top of a baking sheet.  You want the bacon grease to fall away as it cooks so the bacon will crisp up.

Scoop out the Parmesan cheese.  I use a teaspoon. 

Spoon it right on top of the club crackers.  It doesn't have to be perfect.
Some assembly required.  Pick up a cracker
wrap the bacon around from one end. . .
. . . to the other.
Ta-Da!
Repeat the whole wrapping thing until you run out of bacon or crackers or cheese.
Bake these guys at 250° for 2-3 hours.  Here they are after just one hour.
And here they are all done after three hours!  The ones on top were made with bacon that was a little thicker.  I prefer my twisty things with crispy bacon, but I'm being equal opportunity for the party.
I'm guessing you don't really need a recipe, so I'm not going to spend the time creating a printable one.

Bacon Cheese Twisty Things
Ingredients:
Bacon
Parmesan Cheese
Club Crackers  

Cooking Instructions:
Preheat oven to 250°.  Arrange crackers on top of a wire cooling rack on top of a baking sheet.  Spoon Parmesan cheese over the crackers, about 1 teaspoon per cracker give or take.  Cut the bacon in half.  Pick up one of the crackers with cheese and wrap the bacon around the cracker, doing as best you can to cover both ends.  Once you run out of ingredients or have enough twisty things, put your full baking sheet(s) in the oven.  Allow to cook a minimum of 2 hours, but they will probably take more like 3 hours. 

Enjoy!
~elle