"Air of Houndstooth"

Notions: Thread and zipper from stash $2
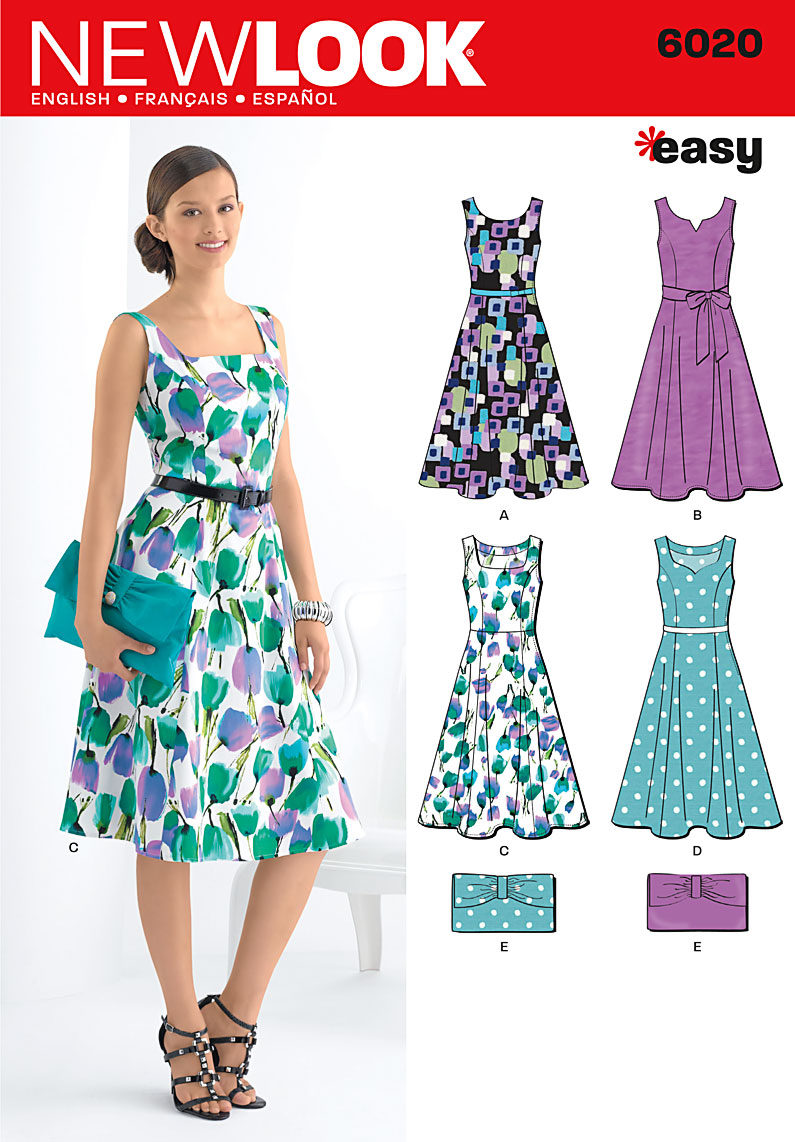
Pattern: New Look 6020, $1
Year: 2011
Time to Complete: about 10 hours including drafting pocket pieces
Year: 2011
Time to Complete: about 10 hours including drafting pocket pieces
First Worn: July 2, 2014
Wear Again: yes!
Wear Again: yes!
Total Cost: $19

This is the latest addition to my wardrobe: New Look 6020. I keep going back to this pattern for ModCloth's Air of fill-in-the-blank dress looks. It was high time (get it?--high) I make one for myself. If you remember, I first spotted the Michael Miller fabric about a year ago and I was bummed fabric.com only had a yard in stock. I ordered that yard (turned out to be 26" or so) and made a carryall tote and a pair of slippers with it. When it came back in stock, I placed an order for 3 more yards faster than you can say "the devil wears a blue thong."

These photos suck. It is forever too freaking bright in my yard (and no rain for weeks, what?) to take good pictures. My attempts at color-correction made the fabric look grainy. I think grainy is the lesser of the two evils, so there you have it.

For my dress, I chose bodice View D with the bodice back of A/B.

I also spent a fair amount of time figuring out and drafting the pattern pockets. A girl's gotta have a place to keep her rocks and hair clips yaknow. A tutorial is forthcoming for that.

I did a lapped side zipper with a hook and eye at the top. I'm not crazy with how the zip turned out. I don't know why I haven't been able to master the lap yet. I keep trying!

I added a fully-lined bodice instead of the facings, but I ended up inserting the lining backwards. I should have left the shoulder seams for last and hand-sewed those up and I sewed the shoulders first. I had to make and use bias tape around the armholes because of this. I am SO PLEASED with how my bias tape turned out this time. It was largely wonk-free. The biggest issue I had with the bias tape was that I sewed it on before sewing in the zipper and I had to unpick my gawgeous bias tape finish (which I had trimmed before stitching in the ditch on the right side d'oh!) in order to cover my zipper tape up. That was a huge issue. I pledge to never make that mistake again. Ugh.

What I don't love about the bias tape is how it doesn't lay flat against my shoulders. It sticks up like "Nobody puts bias tape in the corner. I always dance the last show of the season." Not sure if this would still happen if I used the facings? Look at the left shoulder. So much poking out. Dislike.

The bodice front fit really well straight out of the package. I used the size 8 (smallest size), which I now know is the size I need to get the proper shoulder fit. I figured I would need to take in 1/4"-1/2" on the princess bust seams, but didn't need to after all.

I spent a lot of time trying to fix the bodice back for C/D and not loving the way it was coming out, so I threw that idea out and tried the V back. This one actually works fairly well. I took it in about 1/4" per seam to tighten things up back there. I don't have issues with the shoulders falling down on me like I typically would with the low front/low back combination. I think it's because there is more structure on both sides. I will embrace the sway back adjustment next time I make this dress. I always seem to have low back wrinkles and it's because my butt makes the fabric gather up there instead of being nice and smooth. #FWP The other issue I have with this bodice back is that it doesn't quite fit my right shoulder. You can probably tell in the photo that my right shoulder is a bit lower than the left one. I got issues. That leg is a touch shorter and throws the proportions off just so. I need to revisit Kathleen Cheetam's Craftsy class to figure out how to make the adjustments I need.

Have a close-up of the fabric.

The neckline isn't a severe as I would like it to be. I would prefer the notch to be more pronounced and for the neckline to be a bit lower. I ended up taking the shoulders in 1/2" at the shoulder seam and that brought the neckline up higher.

Here I am looking pissed at the camera. I am forever fighting a losing battle between myself, the sun, and my camera. Anywho. The skirt has a fair amount of body to it. It isn't a good twirly skirt, but I'm also not pulling any Marilyn Monroe's when I walk into meetings.

See what I mean about the neckline not being very pronounced? The notched sweetheart is there, it just isn't so obvious.

I decided to try something different for the hem treatment. The skirt was still pretty long even after chopping 4" off the pattern piece. I did a single 1 1/4" fold for the hem and used a zig-zag stitch all around right on the serged edge. I *love* it!

Car selfie.

I'm pretty chuffed with how well all my seams lined up on this.


You just continue to be adorable and I'm so jealous of your mad sewing skills. I can't sew for crap (which is partly compounded by the fact that I don't own a sewing machine).
ReplyDeleteThanks! I keep getting better and better at this sewing thing. You should see some of the first garments I made--barely wearable.
Delete